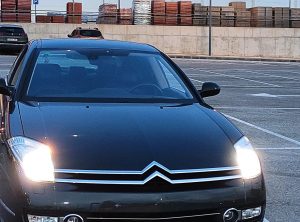
Maudette´s daylight running lamp (and signaling lamp) was an “aquarium”, full with water… So I removed the good lamp from Xavier and took home the bad lamp. I want to attempt to do a restoration, but for that many stars have to align on the sky… First of all I had to figure out (by taking classes at youtube academy) on how to take apart a lamp. Theoretically that is easy, I will have to put it in the oven and set the proper temperature and wait, but practically I was not sure I actually want to do it until I have a replacement lamp… Just in case I manage to transform it in a cookie or something.
I also have to get some rust remova, as the inner metal part of the lamp is fairly rusted. Another long research on what is a suitable product, and what can I buy locally.
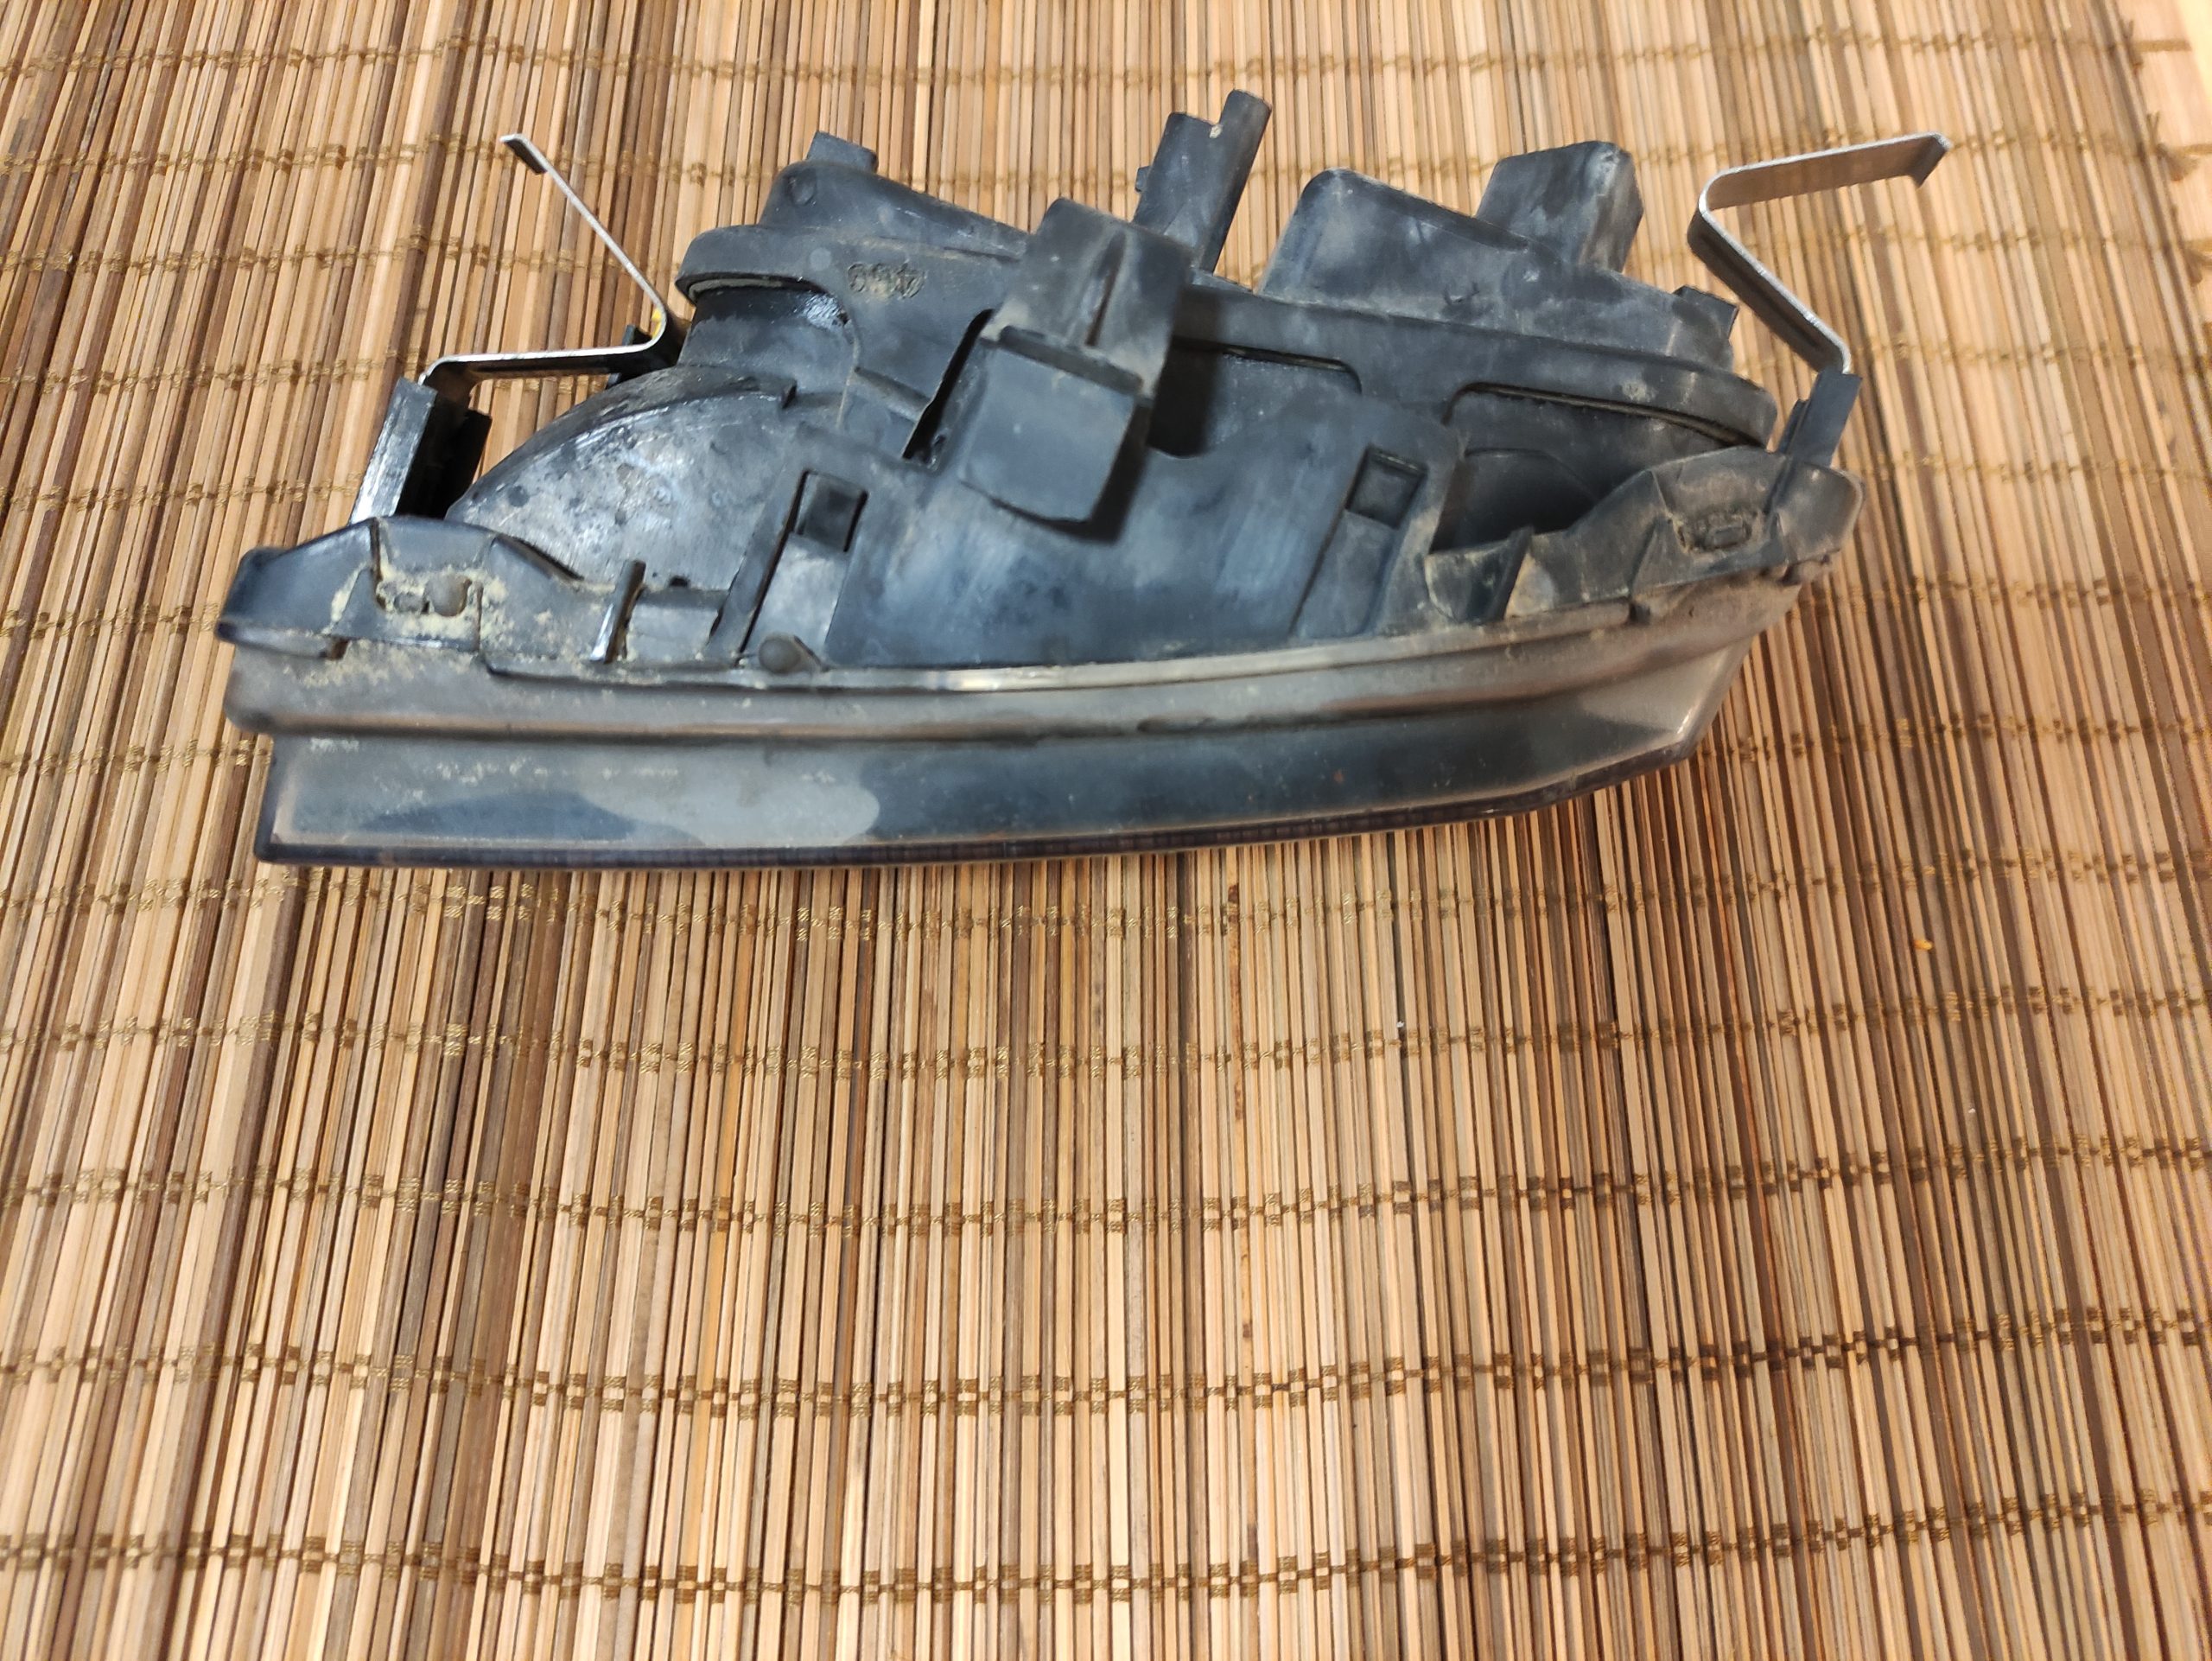
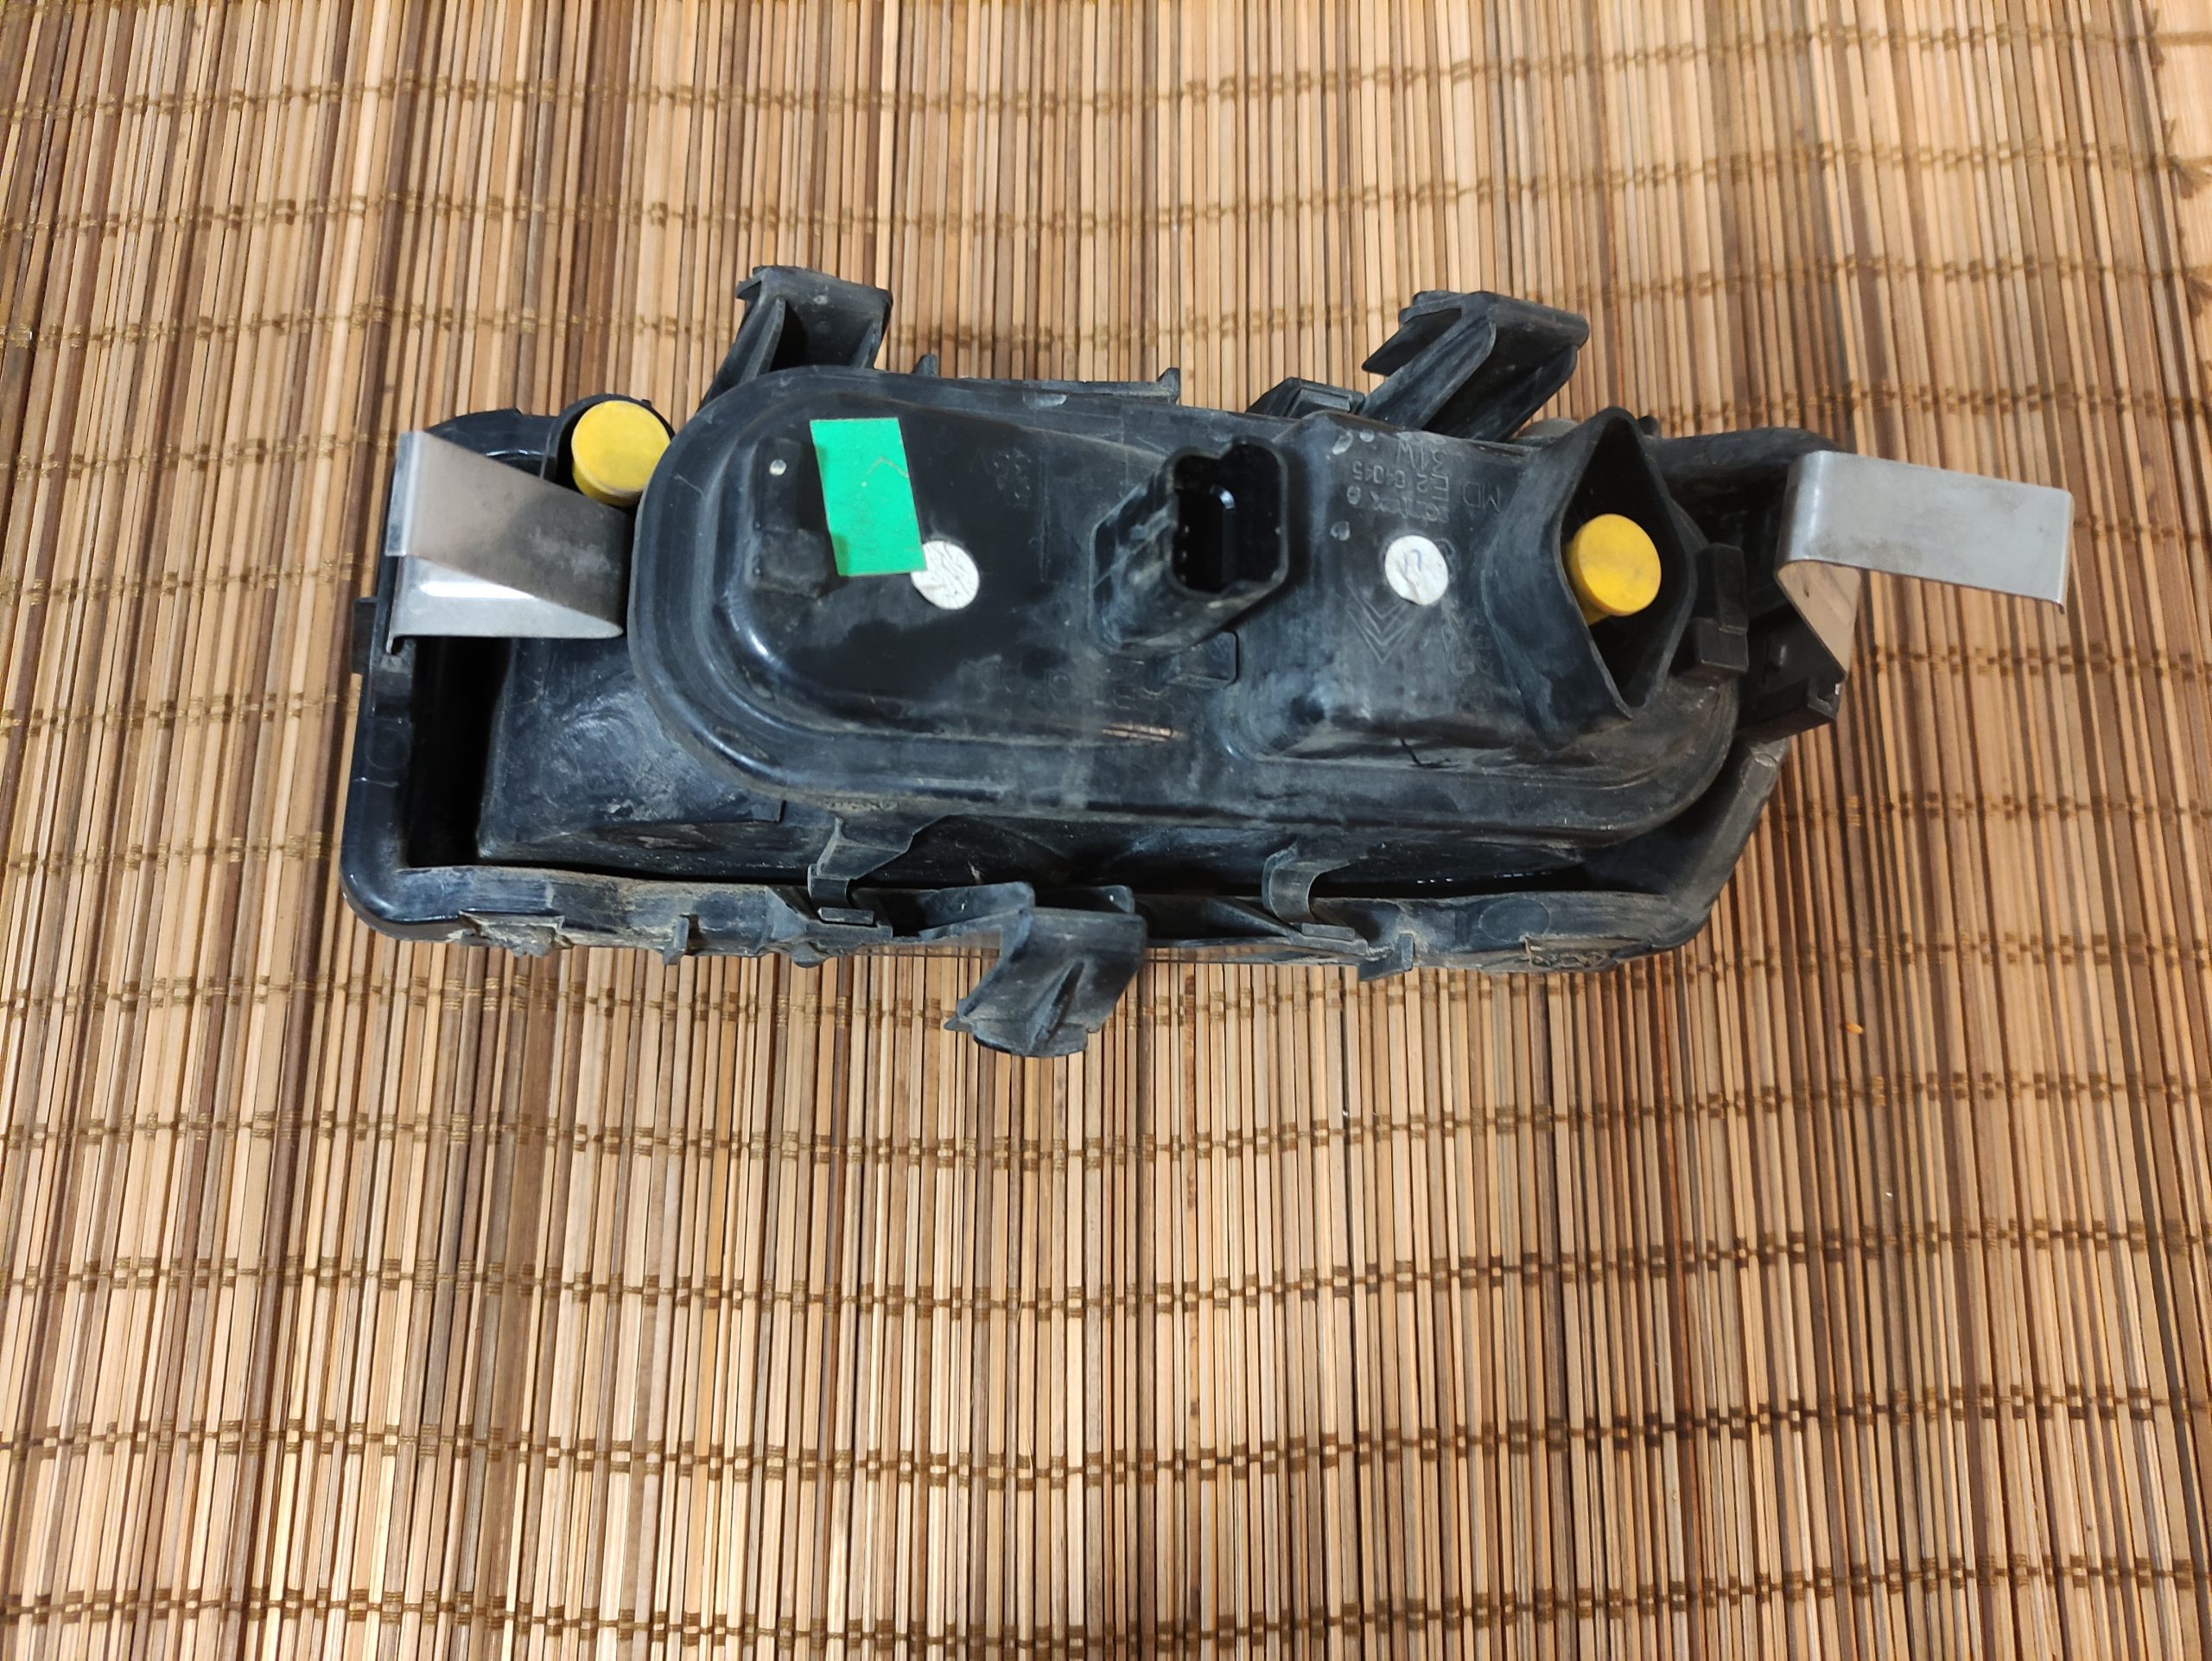
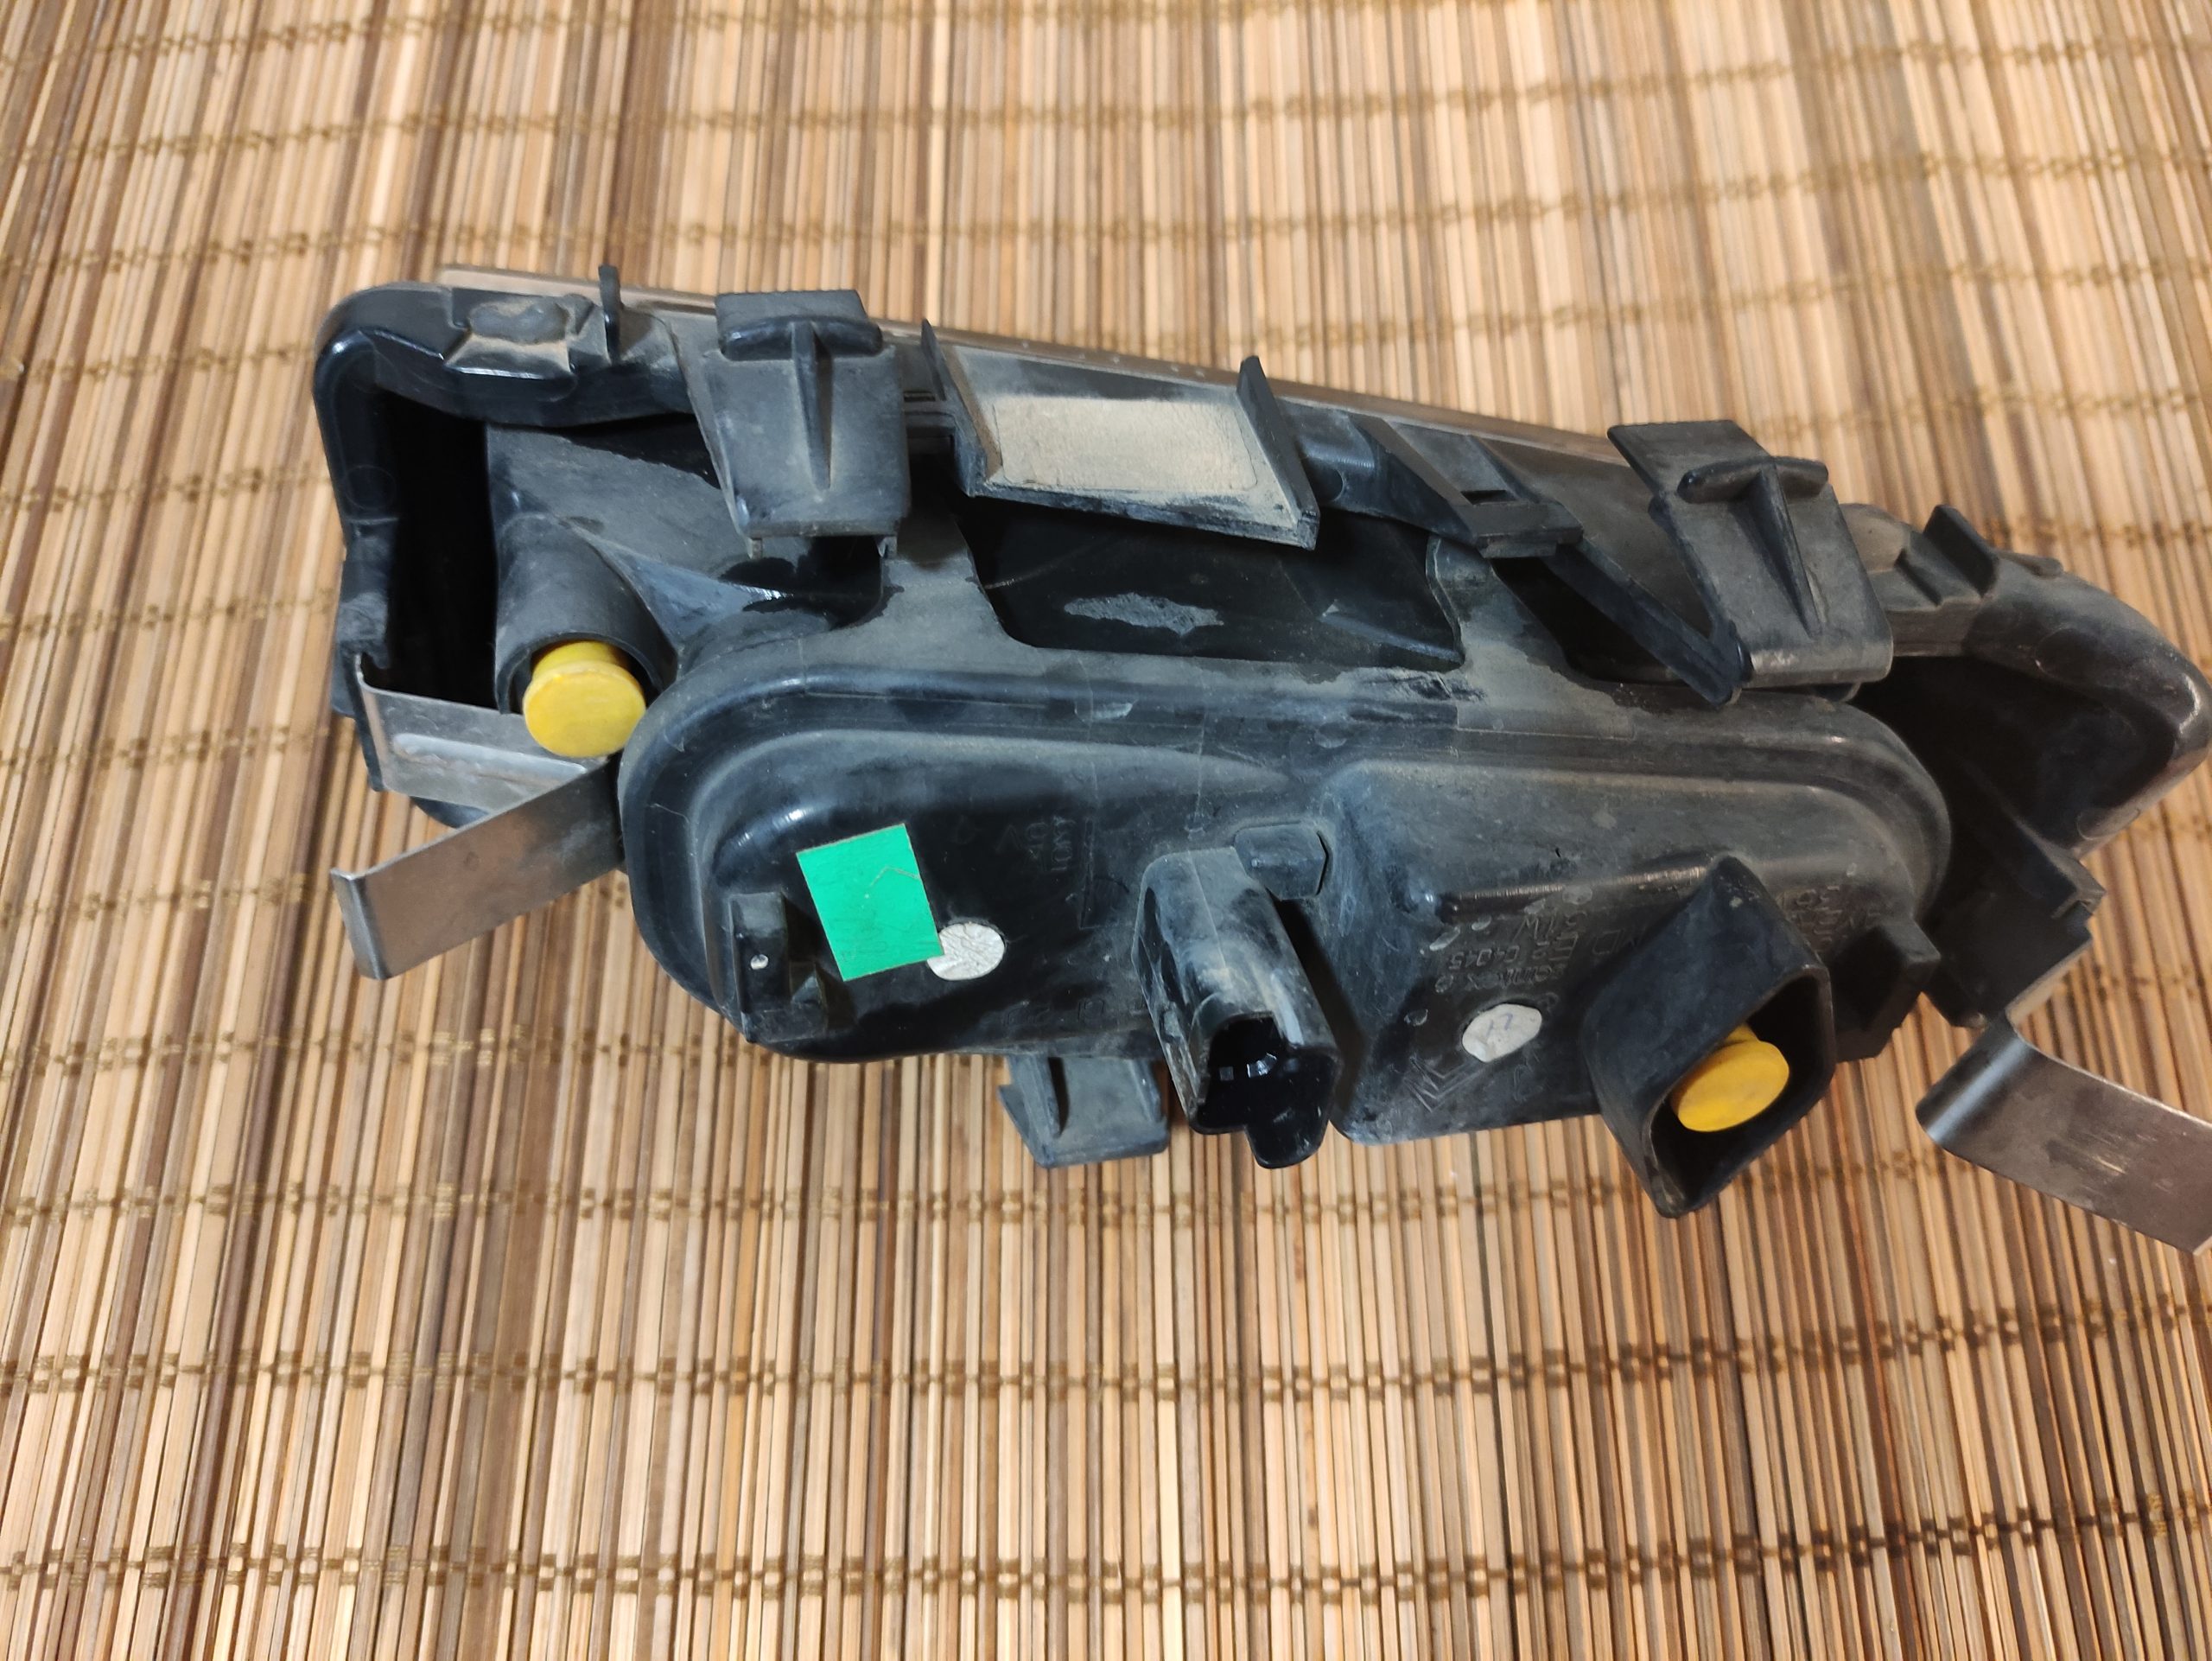
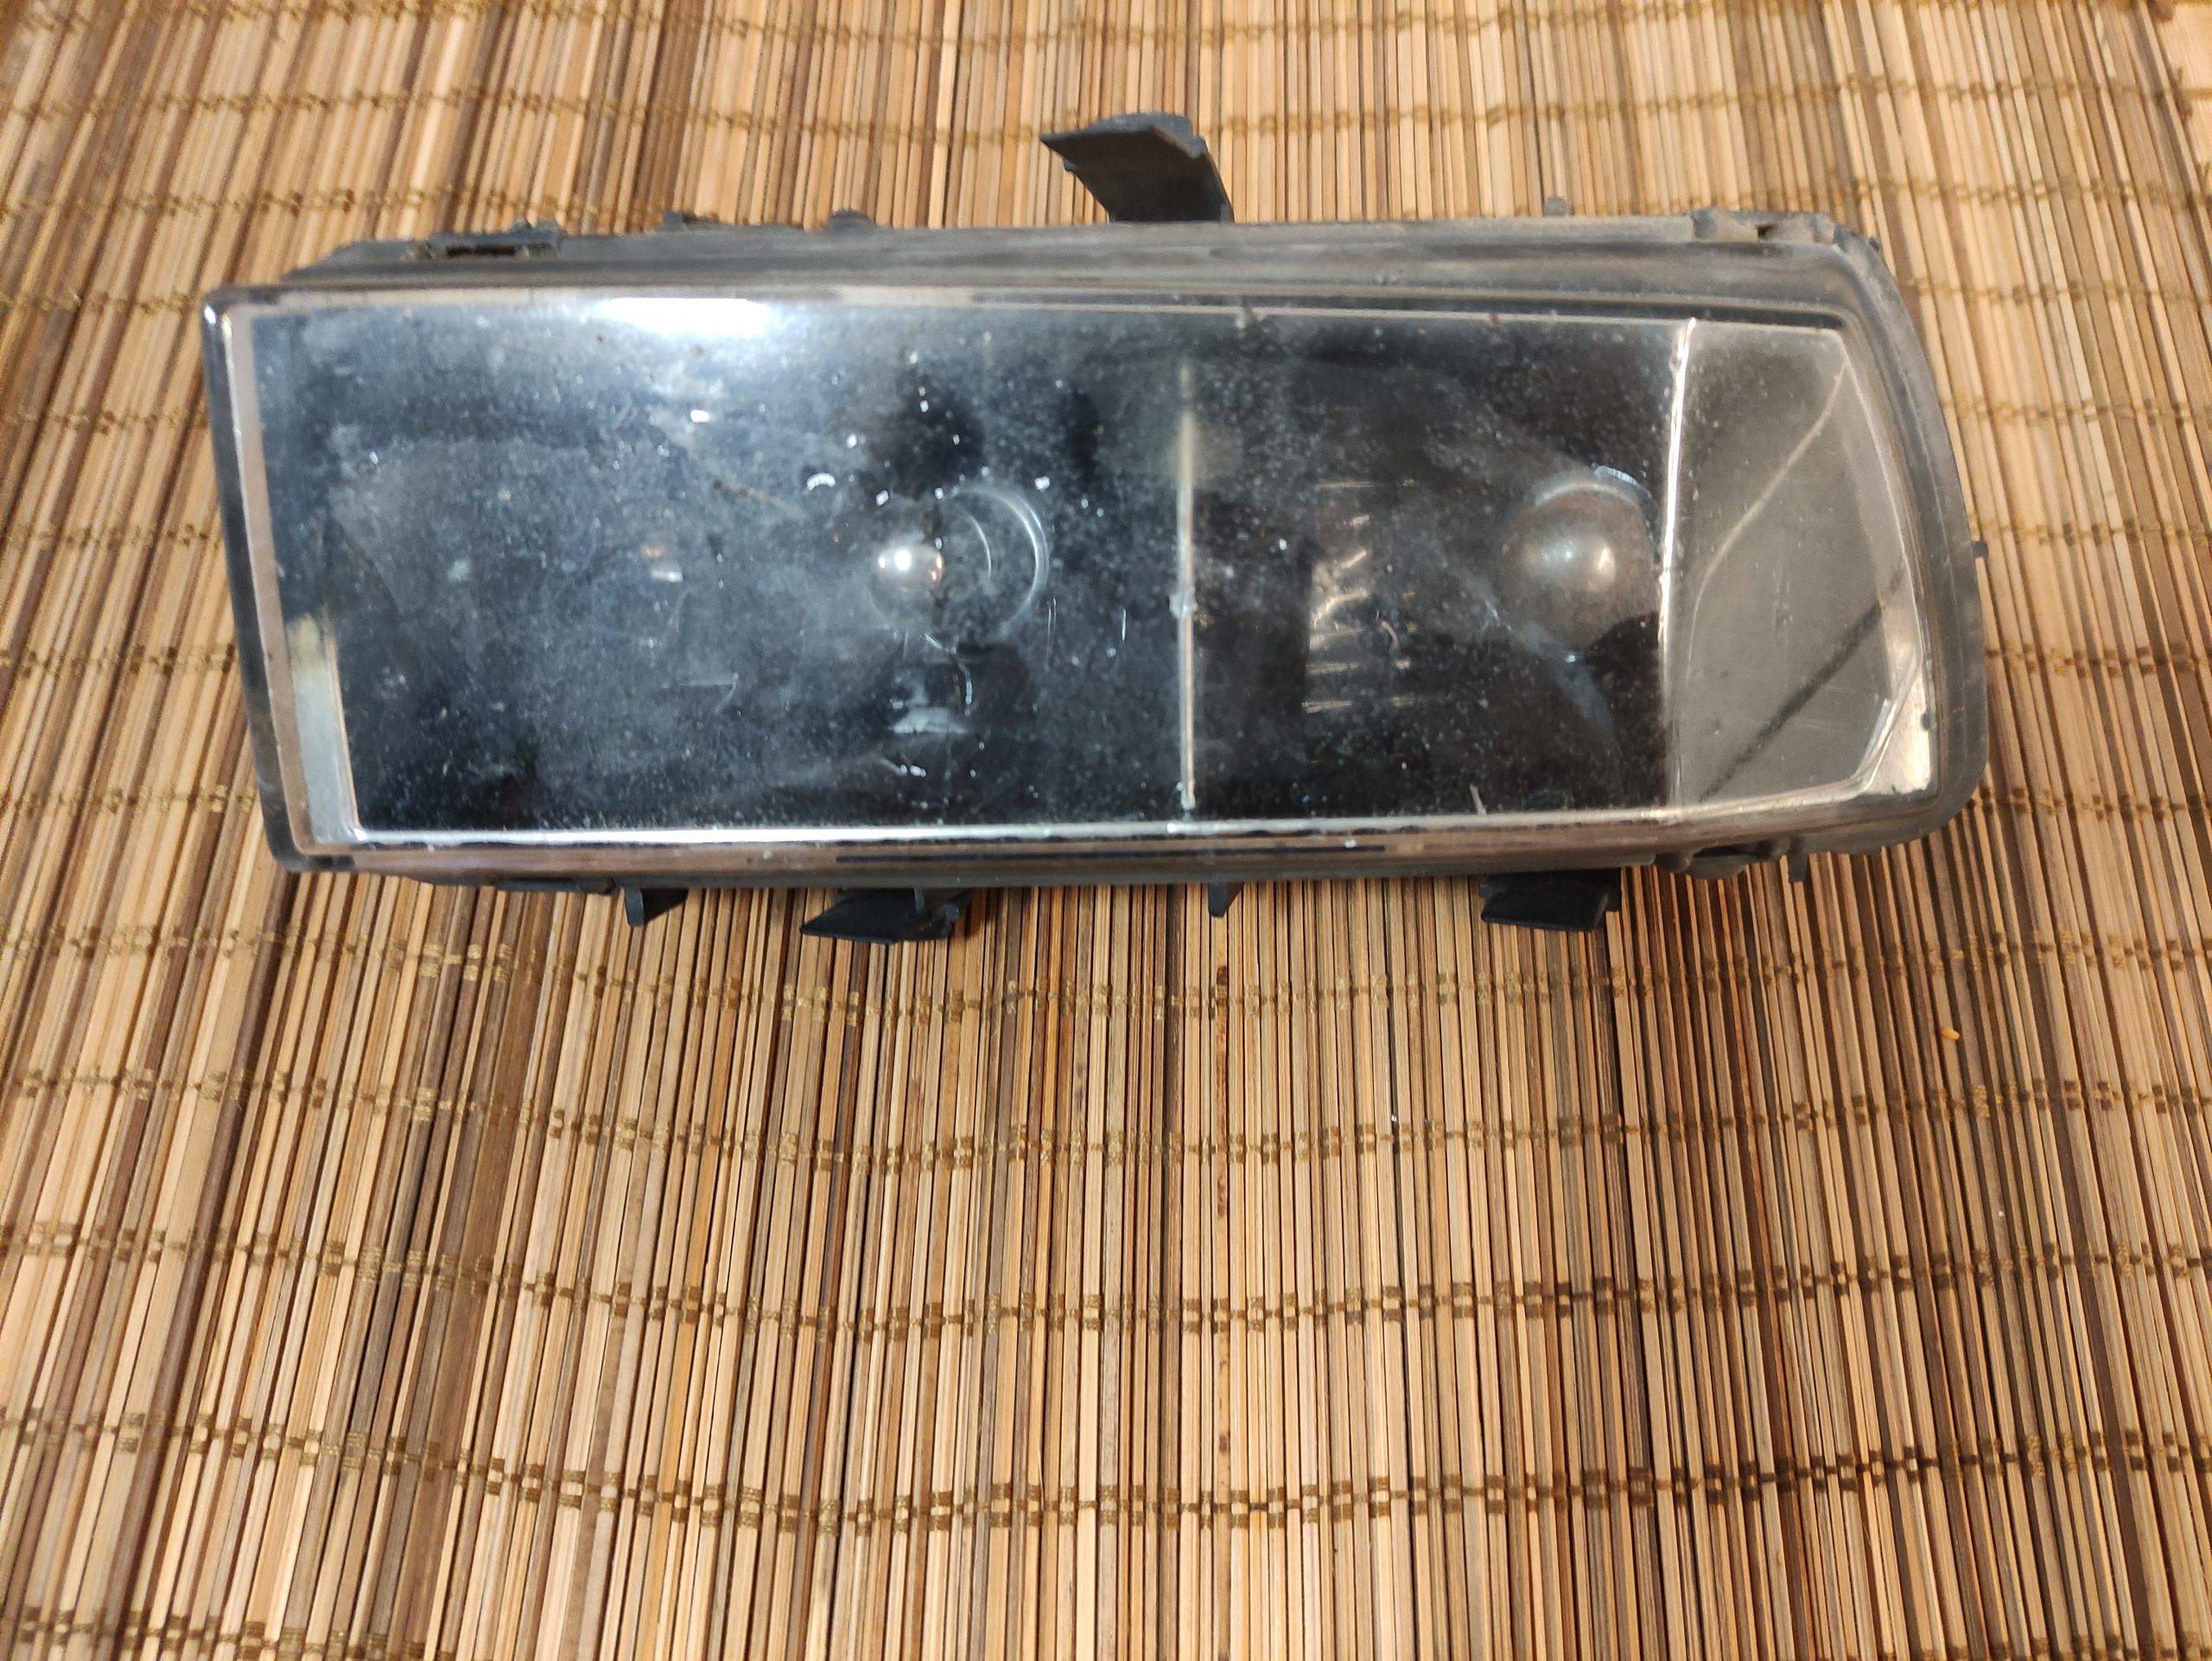
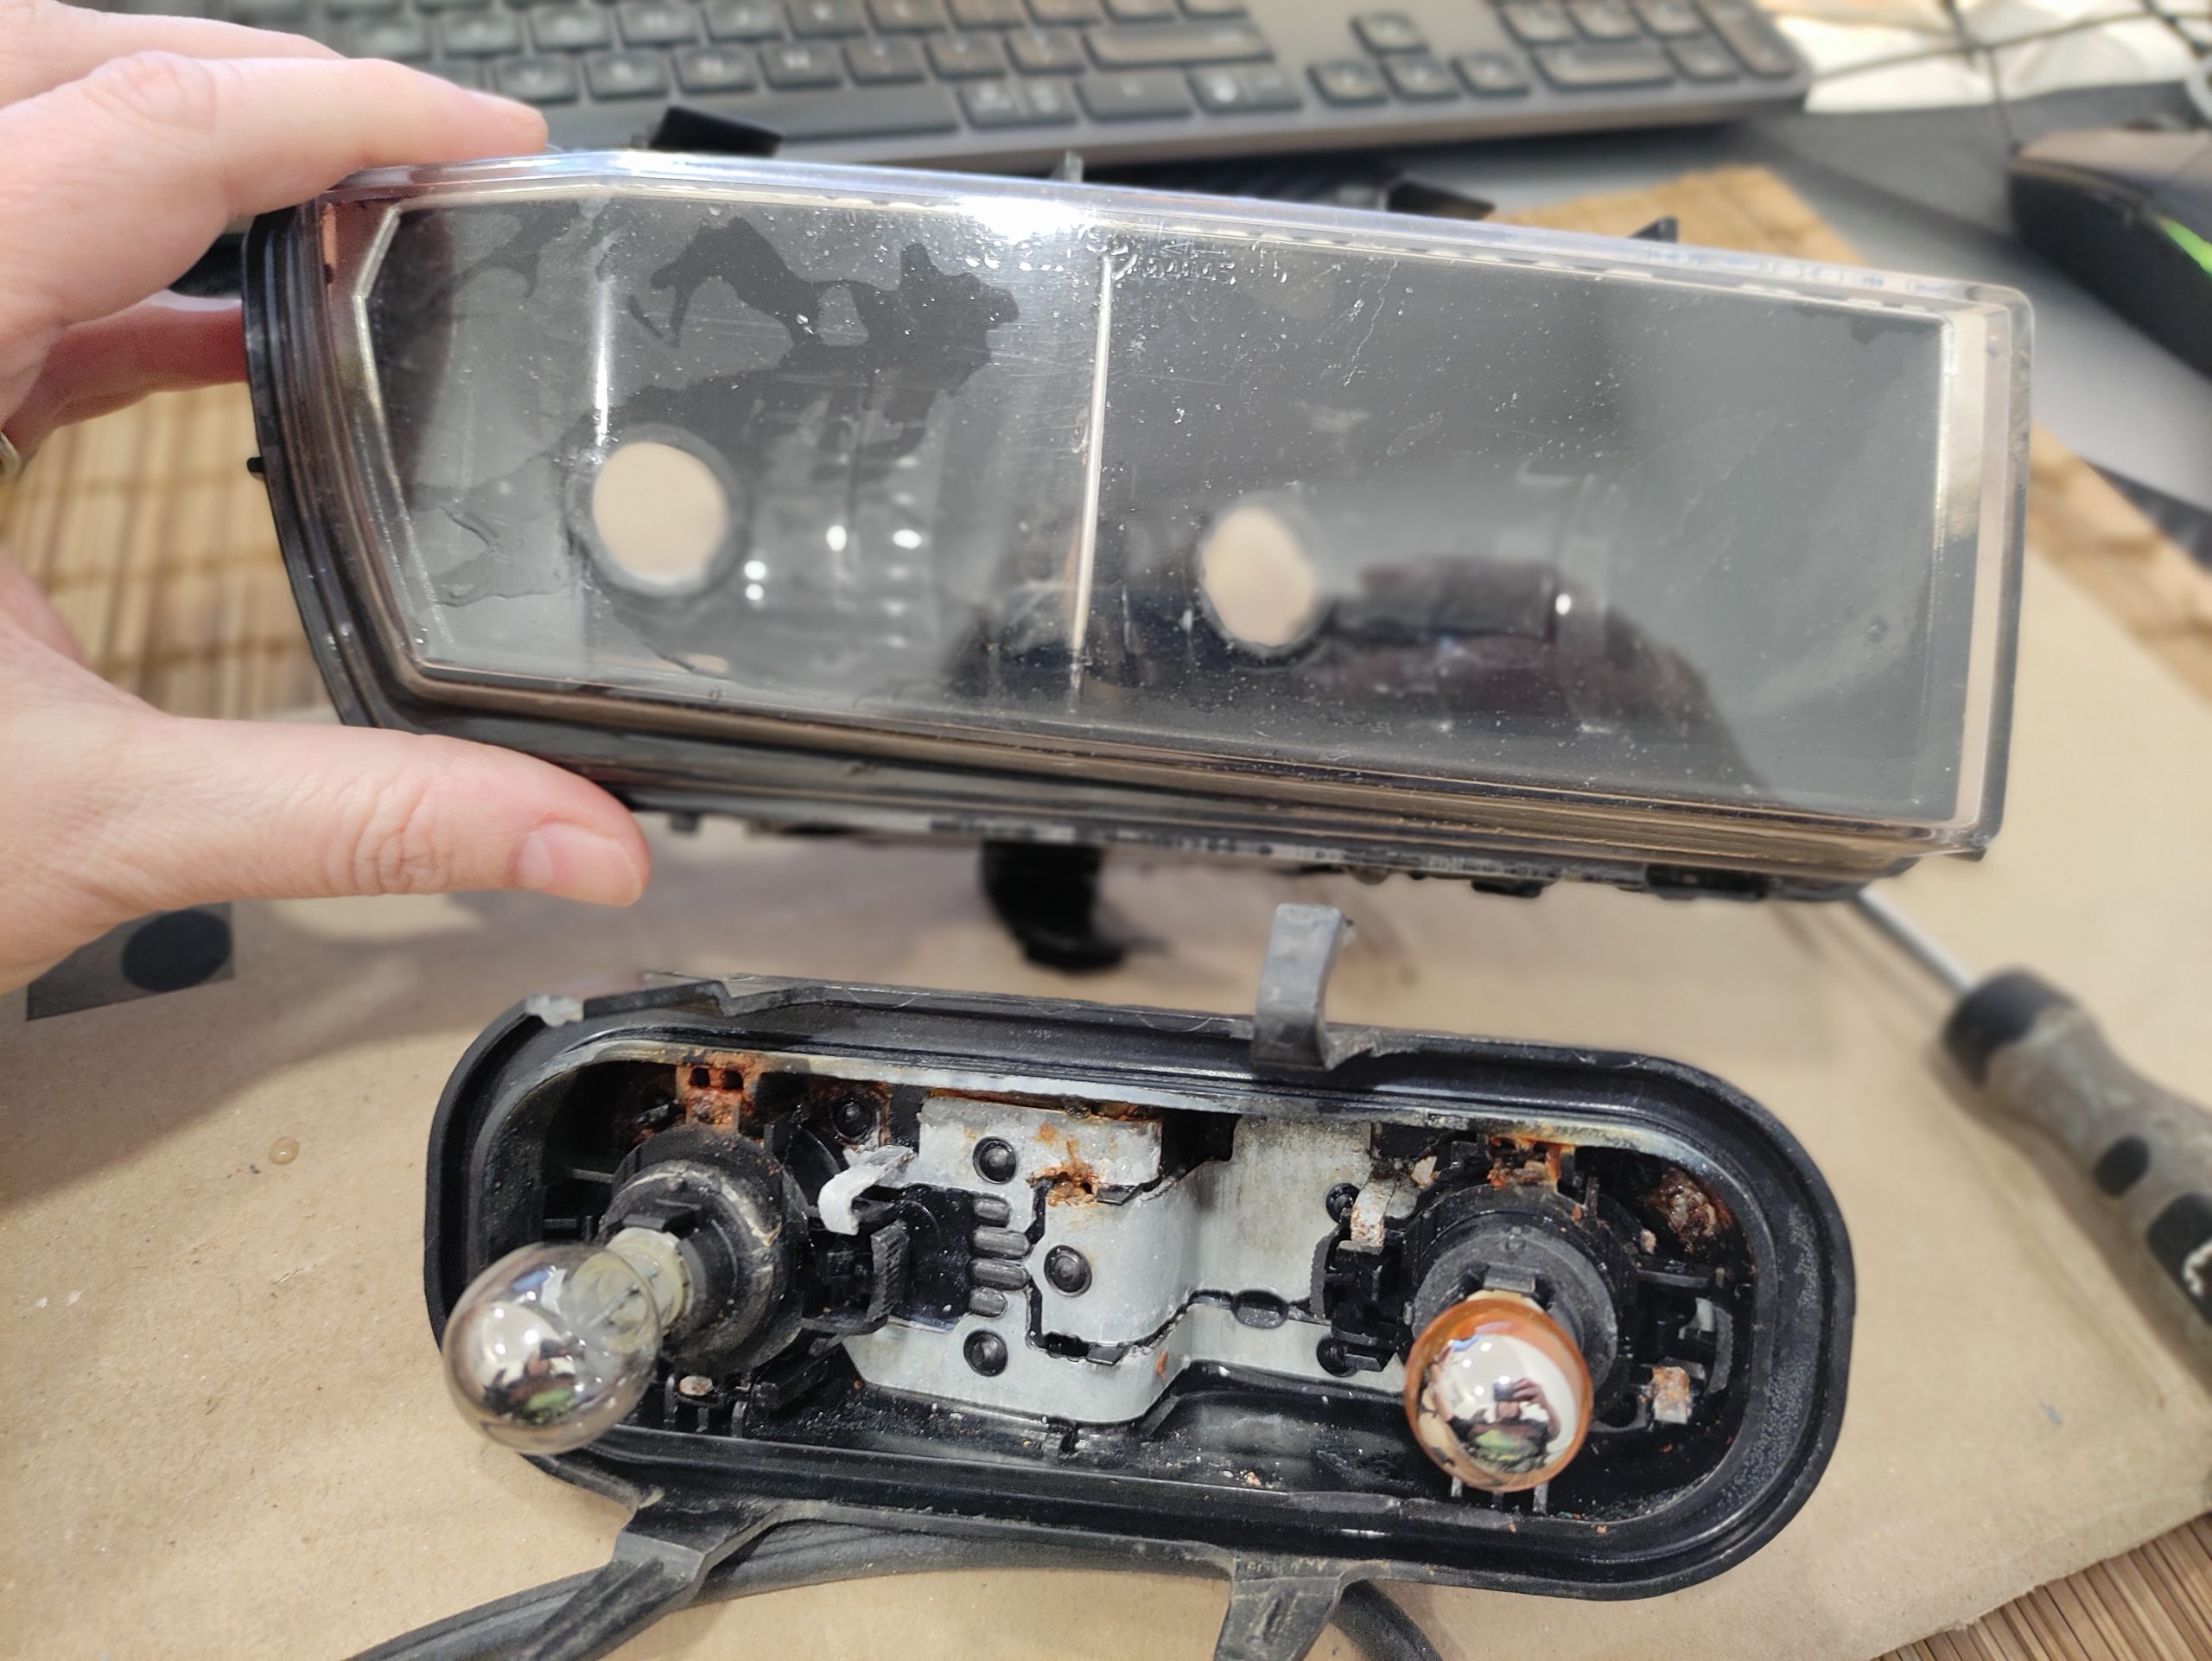
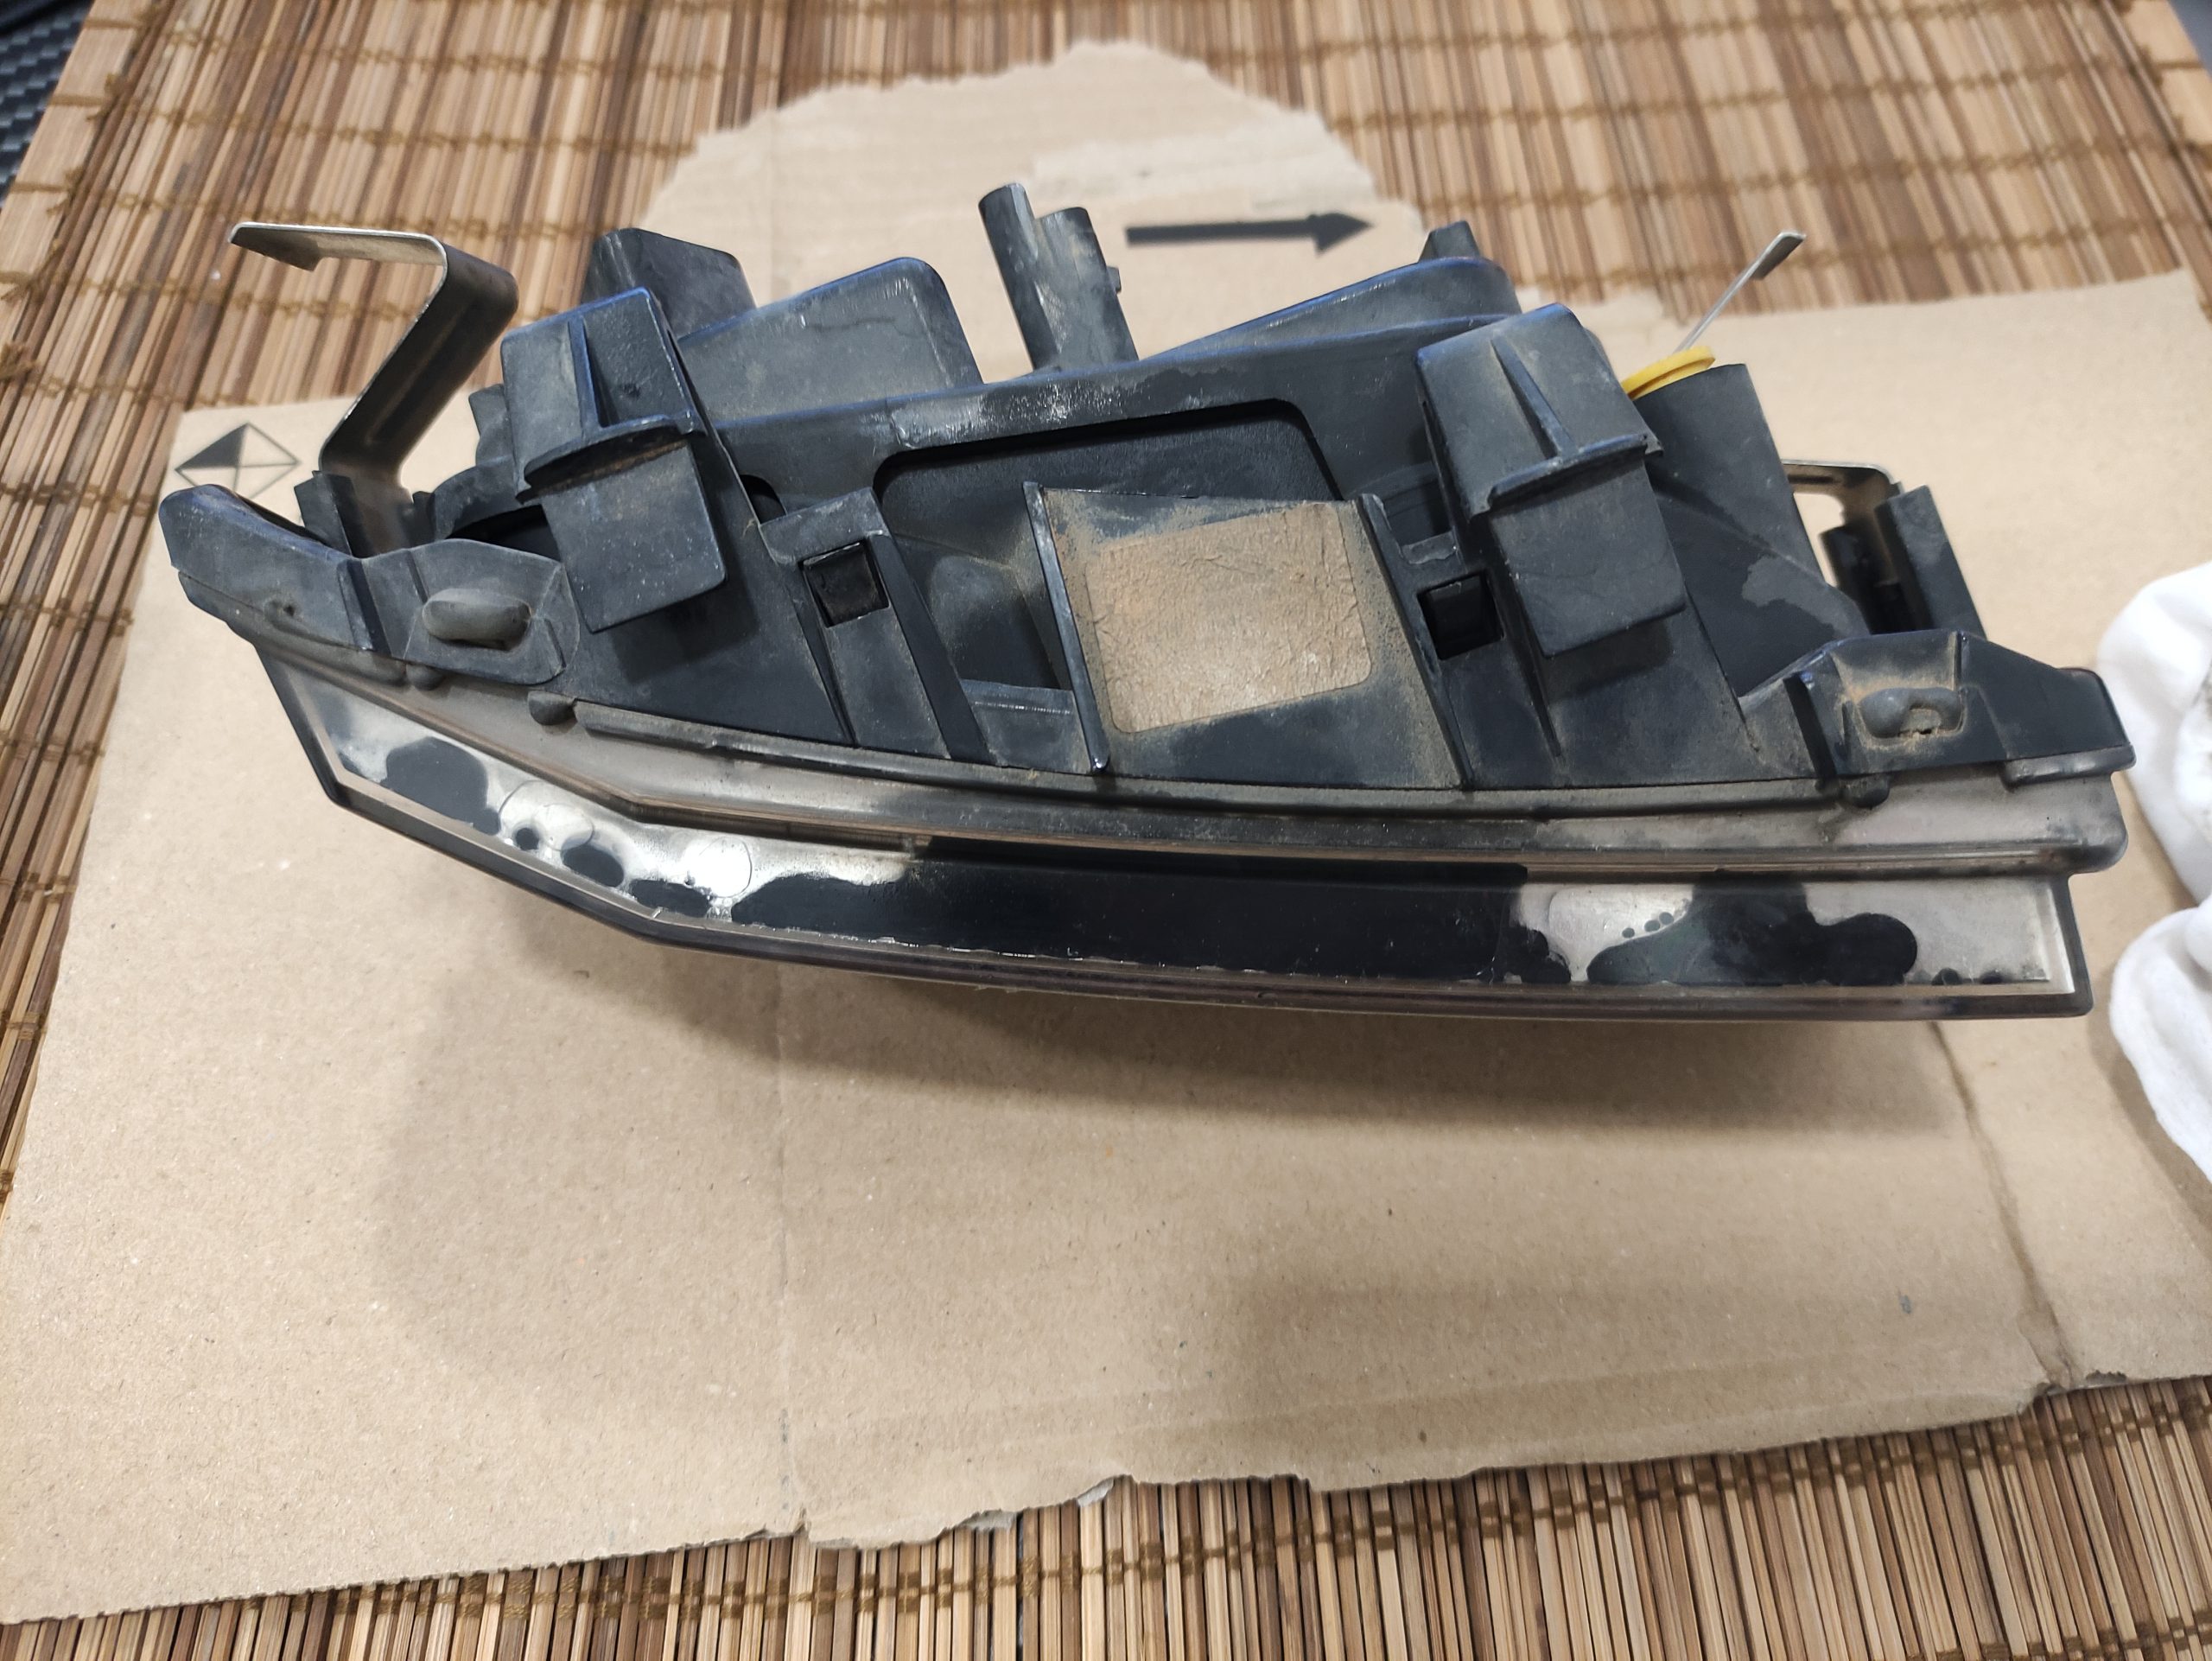
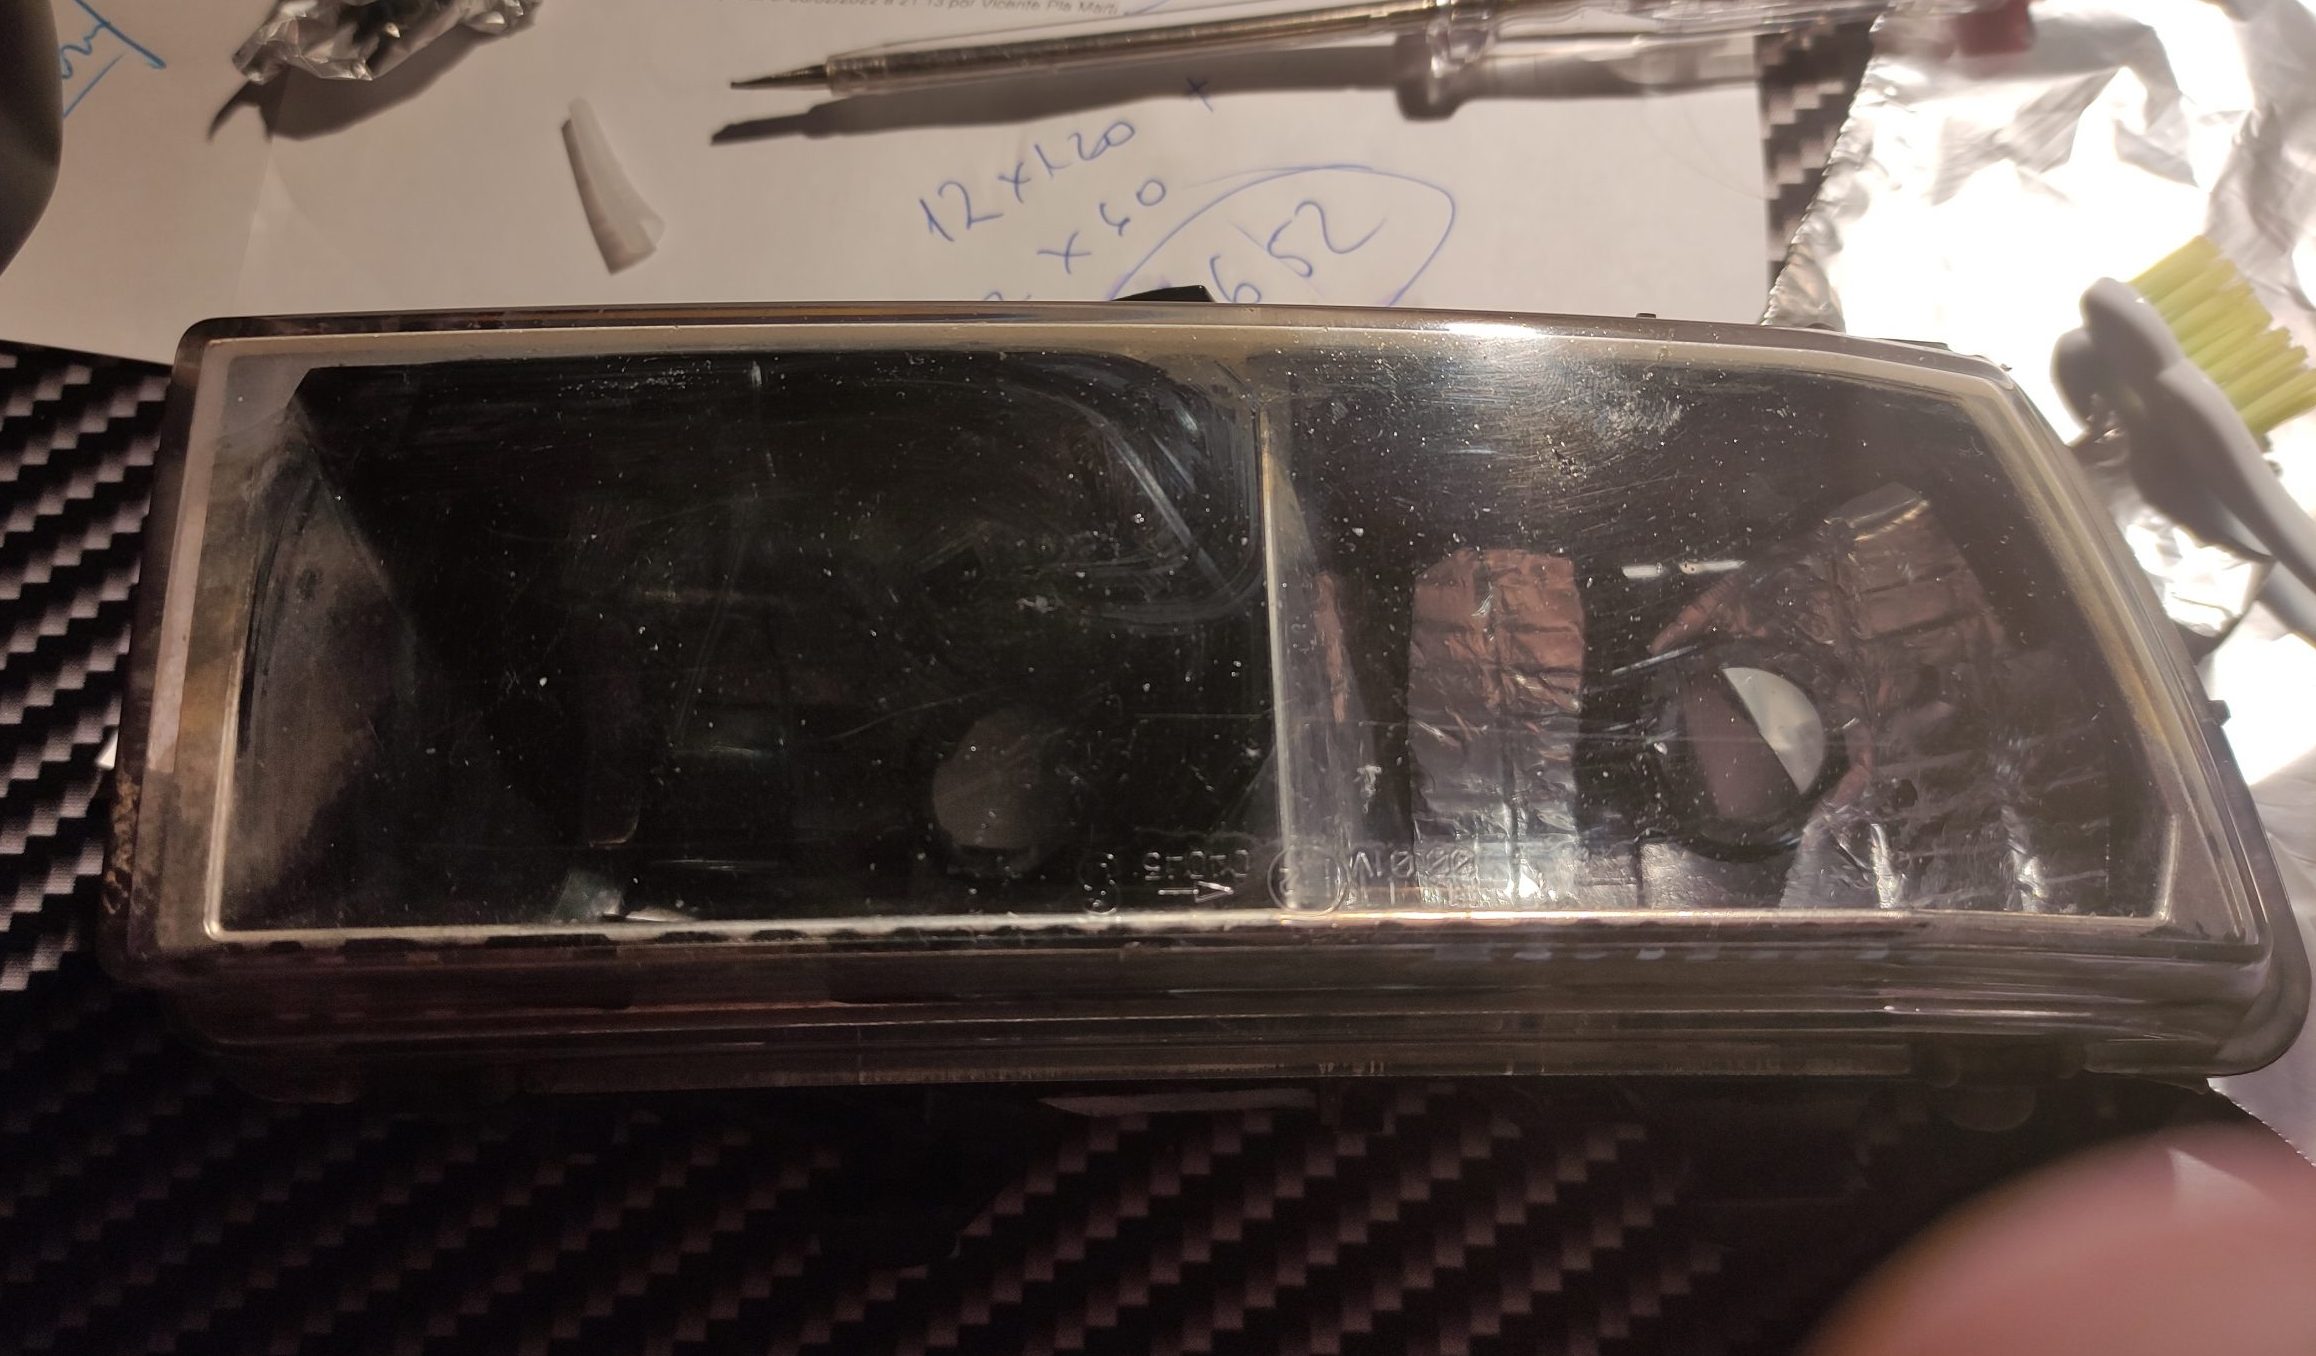
Above you can see the lamp in it´s “before” state.
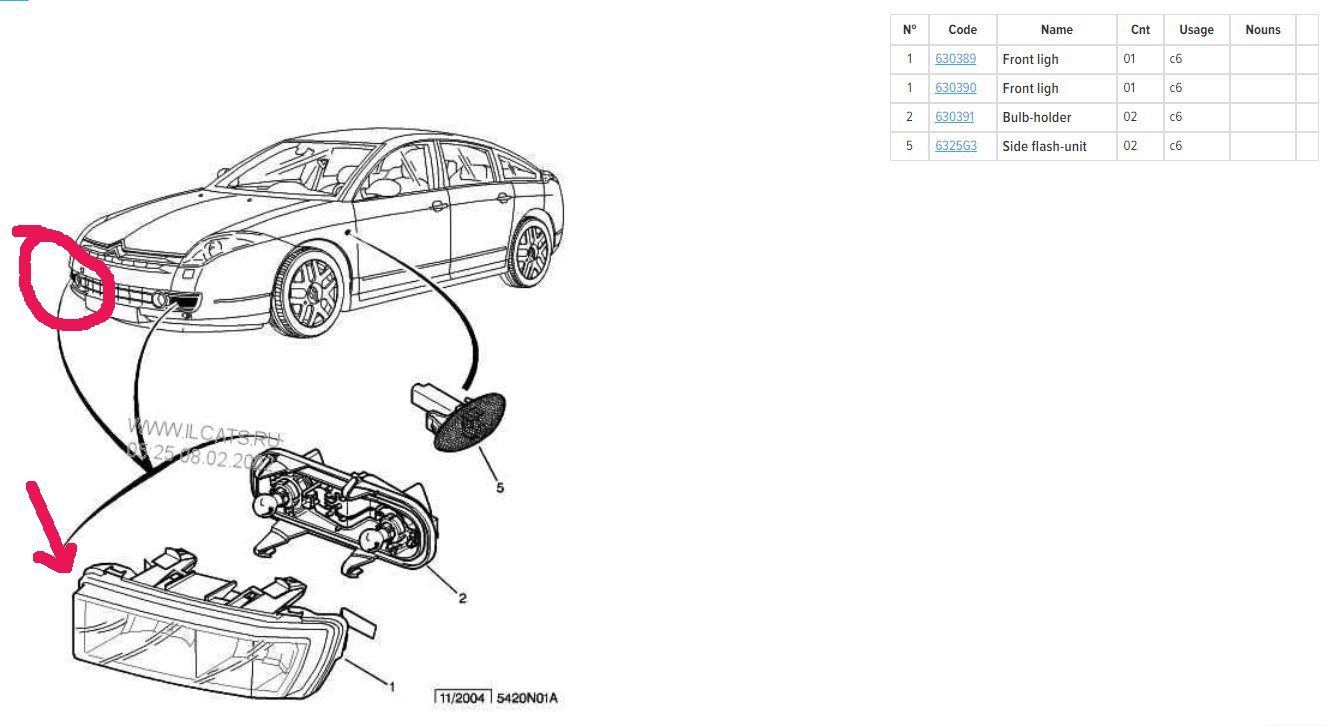
The part number for this is 630390. This is just for reference, in case I might need it in the future.
 The
The
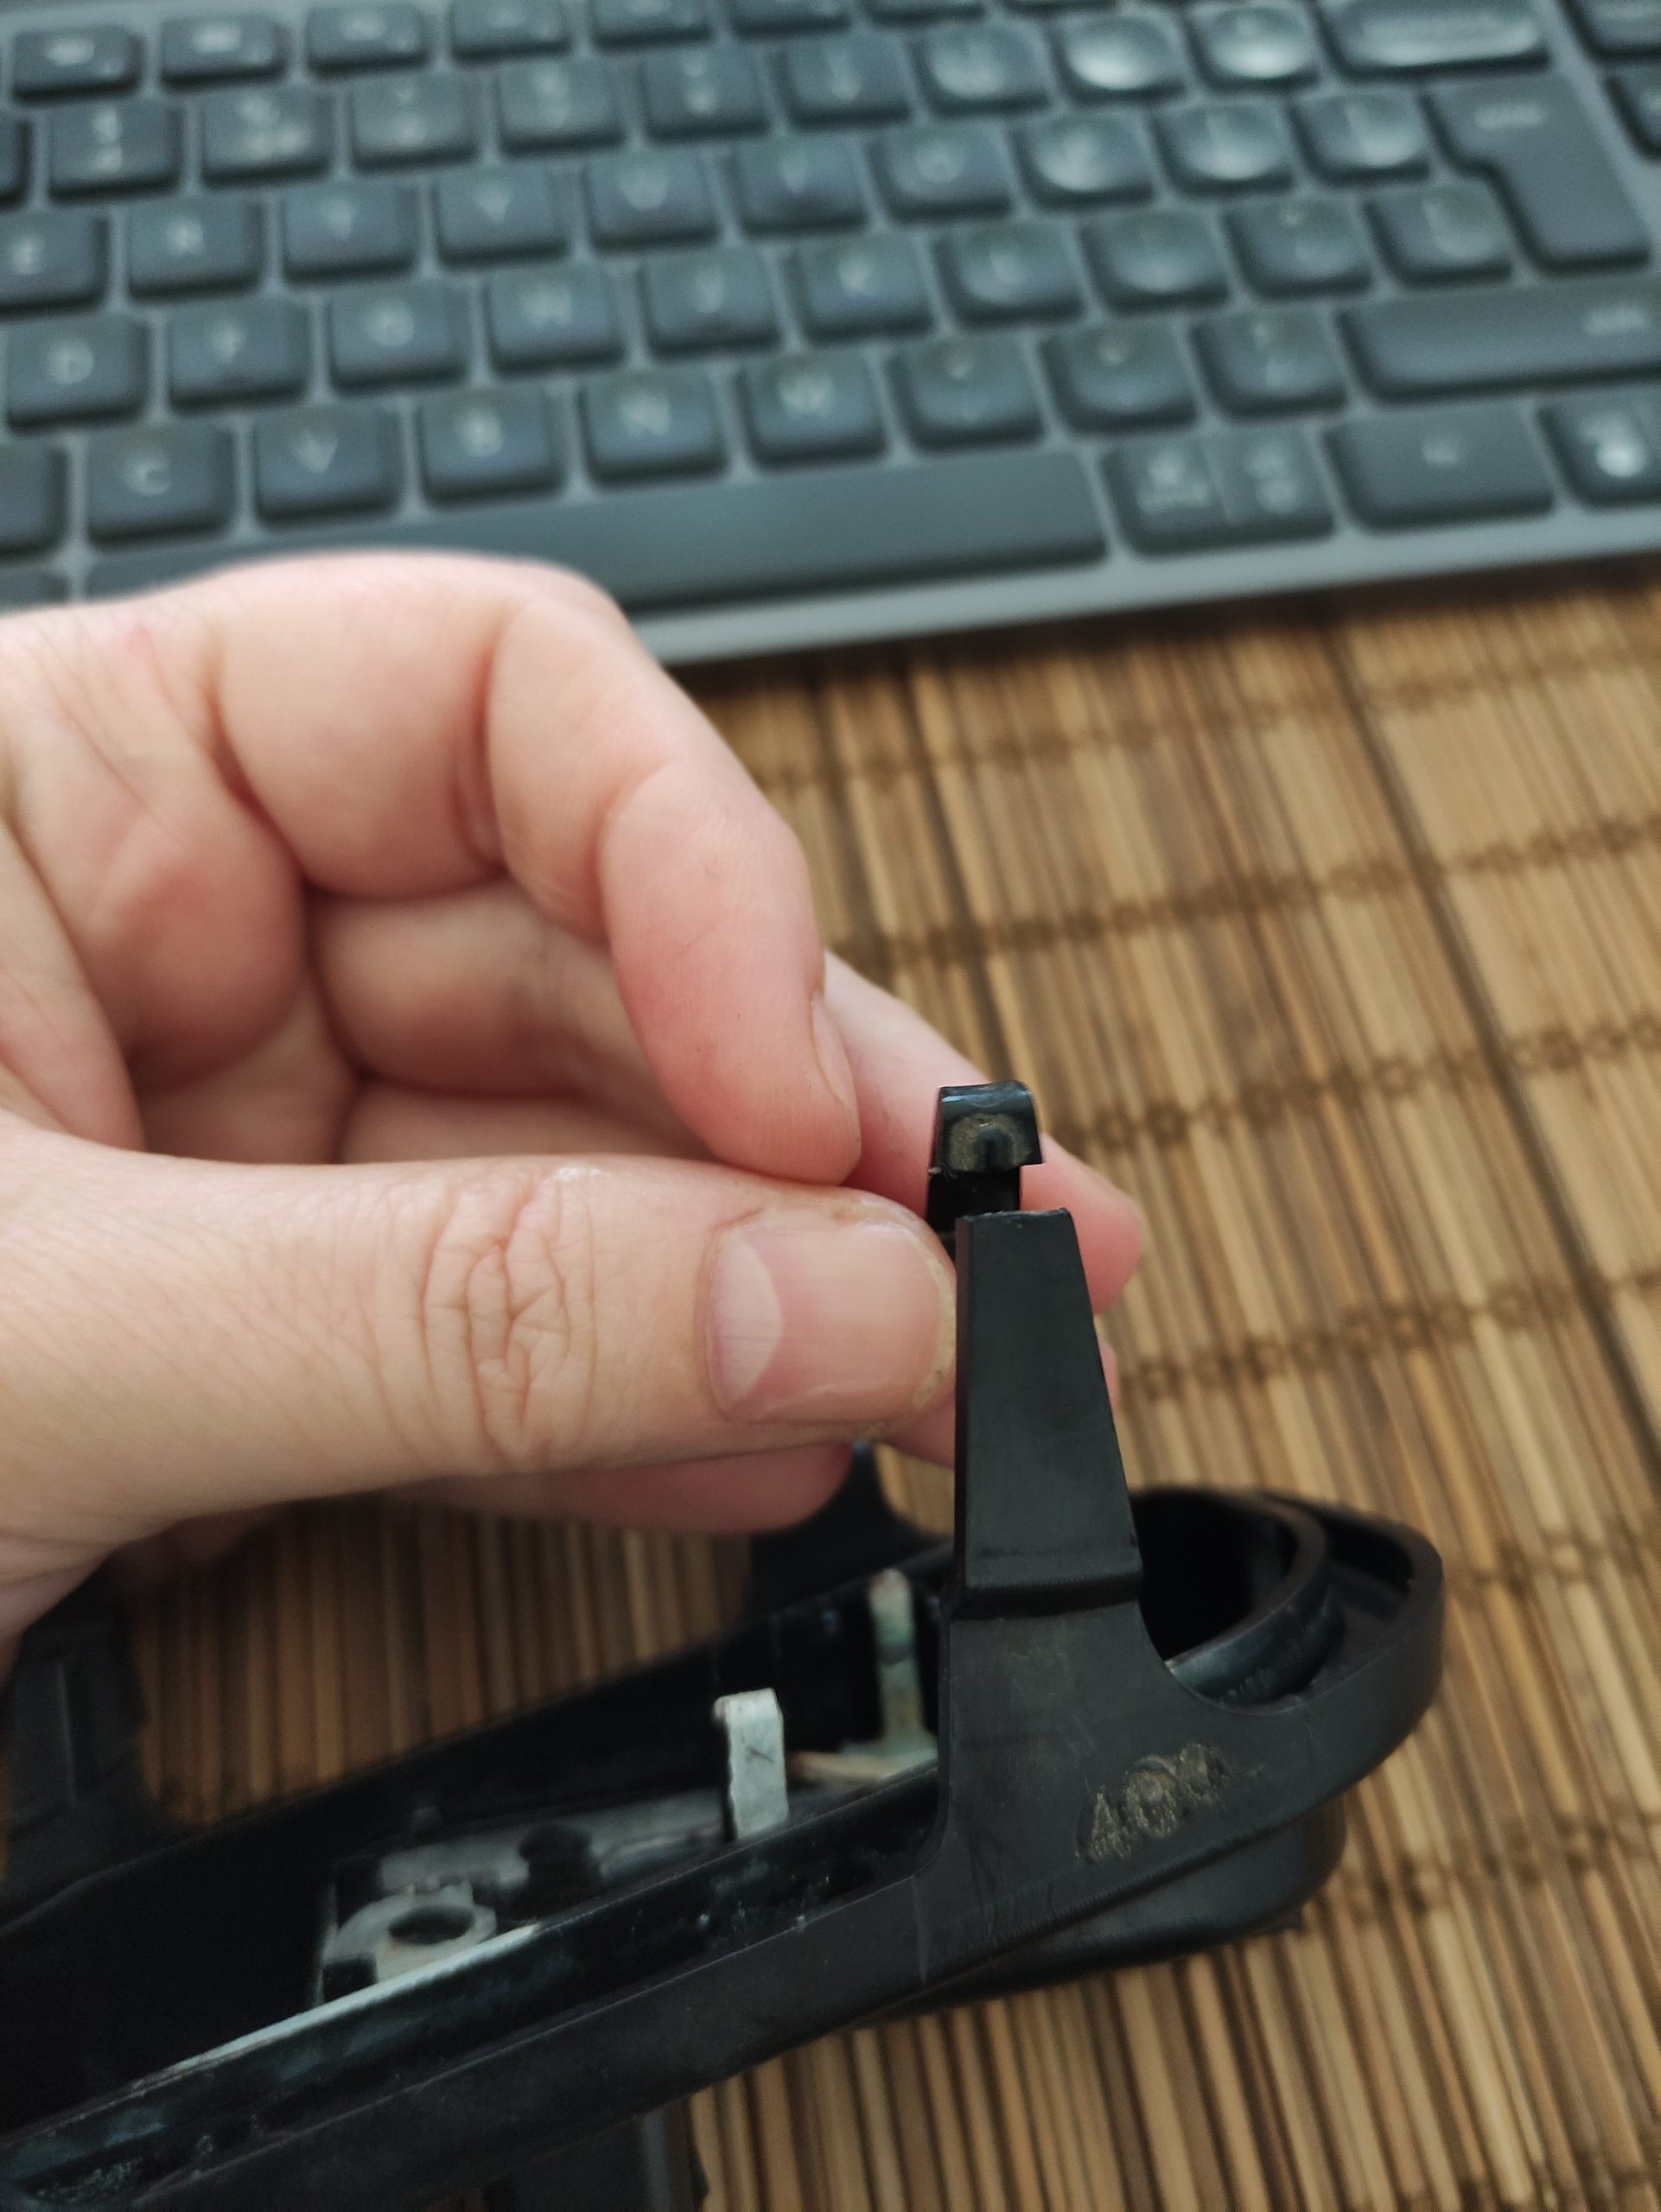
The reflective layer is totally gone, missing, the lap is full of gunk, dirty as hell. So I took it apart and noticed one little leg being broken. Oh well, another day in the youtube academy as now I needed to figure out how to glue it together, or how to plastic weld. Because this seems more complicated, I decided to go with the plastic weld solution 😀
As first step, I managed to make a very good repair based on the above video tutorial. And of course, the two photos I made about it are absolutely worthless bad quality… Anyway. My steps were as follows:
first I used some pvc pipe glue to hold it in place until I secured my wire elements. This because I had to improvise and I had no other suitable glue at home. I mean I had… one that was expired 2 years ago, and now it was unusable.
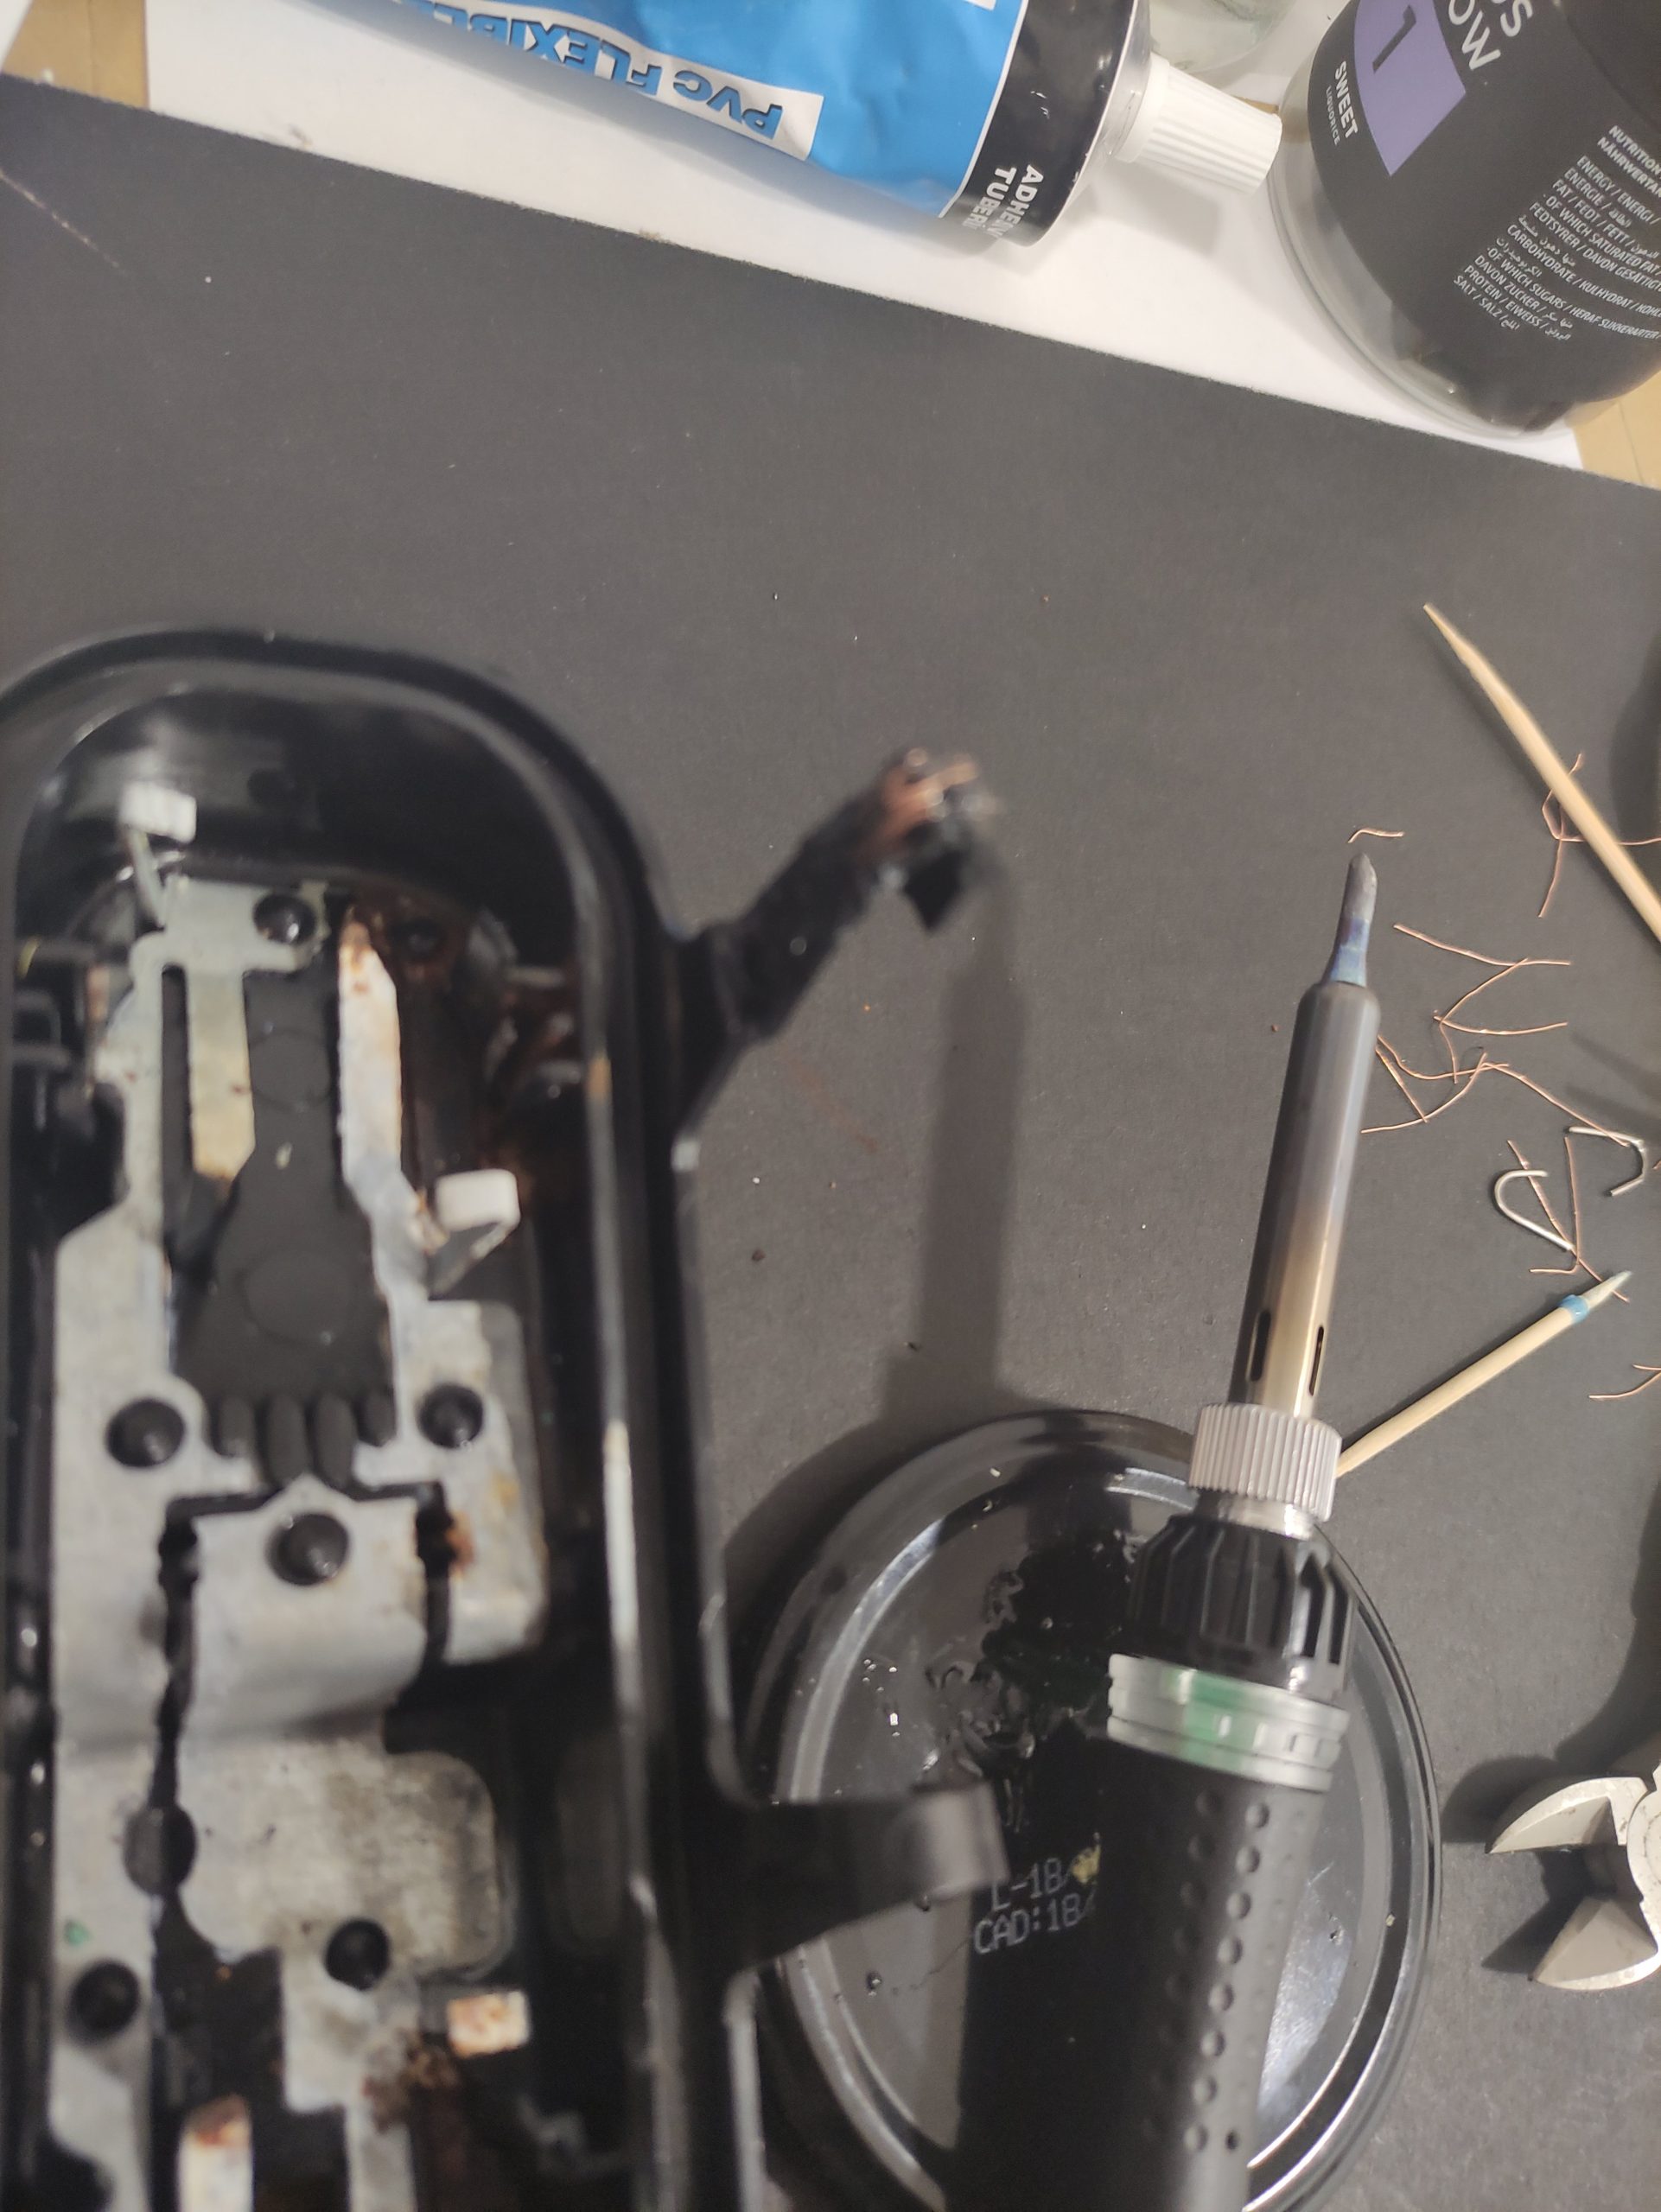
To cut it short, the plastic welding is strong, and it actually clicked back when I put the lamp together! Will see how it will last…
Second step was to clean up the rust, which didn´t happened yet, because I jumped straight to step 3.
After a good wash I wanted to put it in the oven and take it apart. But we had a different idea and wanted to take the car to the car service… Beause of this potentially fully ruining the lapm was not a good option. I decided to wait with the “roasted lamp”and instead a “what if” I take aluminium foil and glue it somehow on the inside. It was an interesting idea… so I got a tweezer, and .. paper glue and my pinkie finger and started to build up a layer of aluminium foil :))) I know, crazy idea, but guess what, it actually worked much better than I expected.
Here is the lamp now :)) Not a perfection, but from the far away, it actually has some reflective layer, and it looks much better than before. For a temporary solution is NOT BAD!!!

In meantime I managed to buy a second hand lamp. It should arrive today/tomorrow, so I can continue with my crazy project.
First I am going to try it to see how it looks on the car, while signaling 😀
But the next step is to heat up the lamp a bit and open it up to do some proper cleaning and paint it with a layer of chrome paint 😀
Will see how that works out!!! Now that the car won’t be without the lamp, I can continue play with my crazy restoration project. Who knows… I might get it usable again 😀
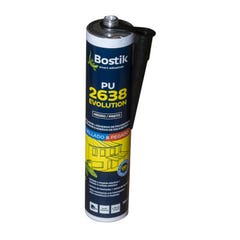
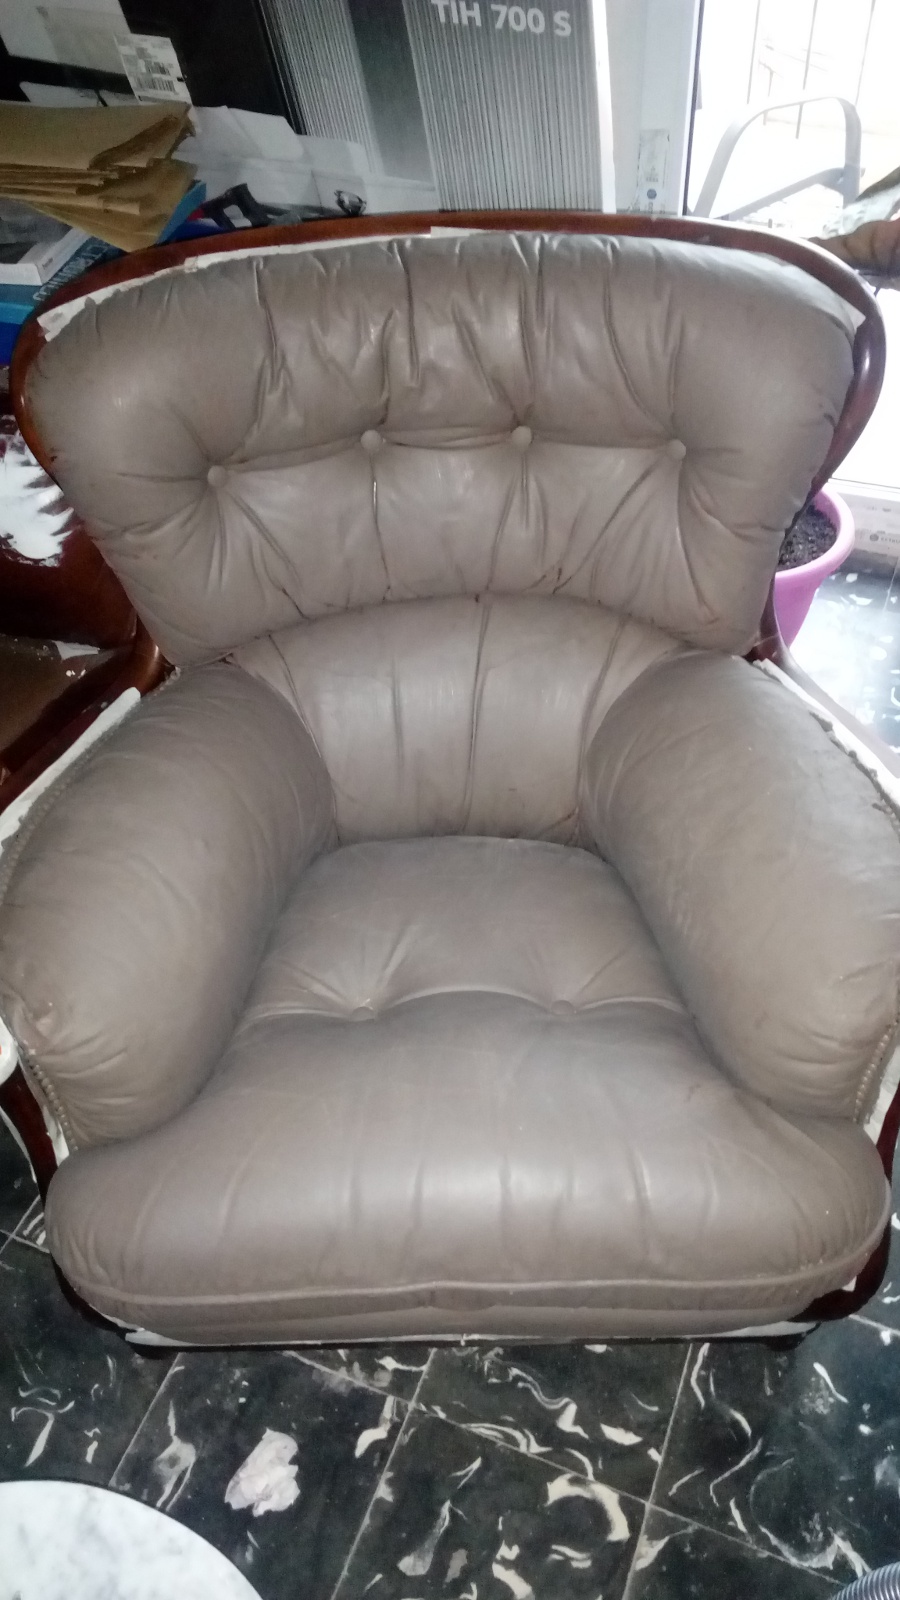
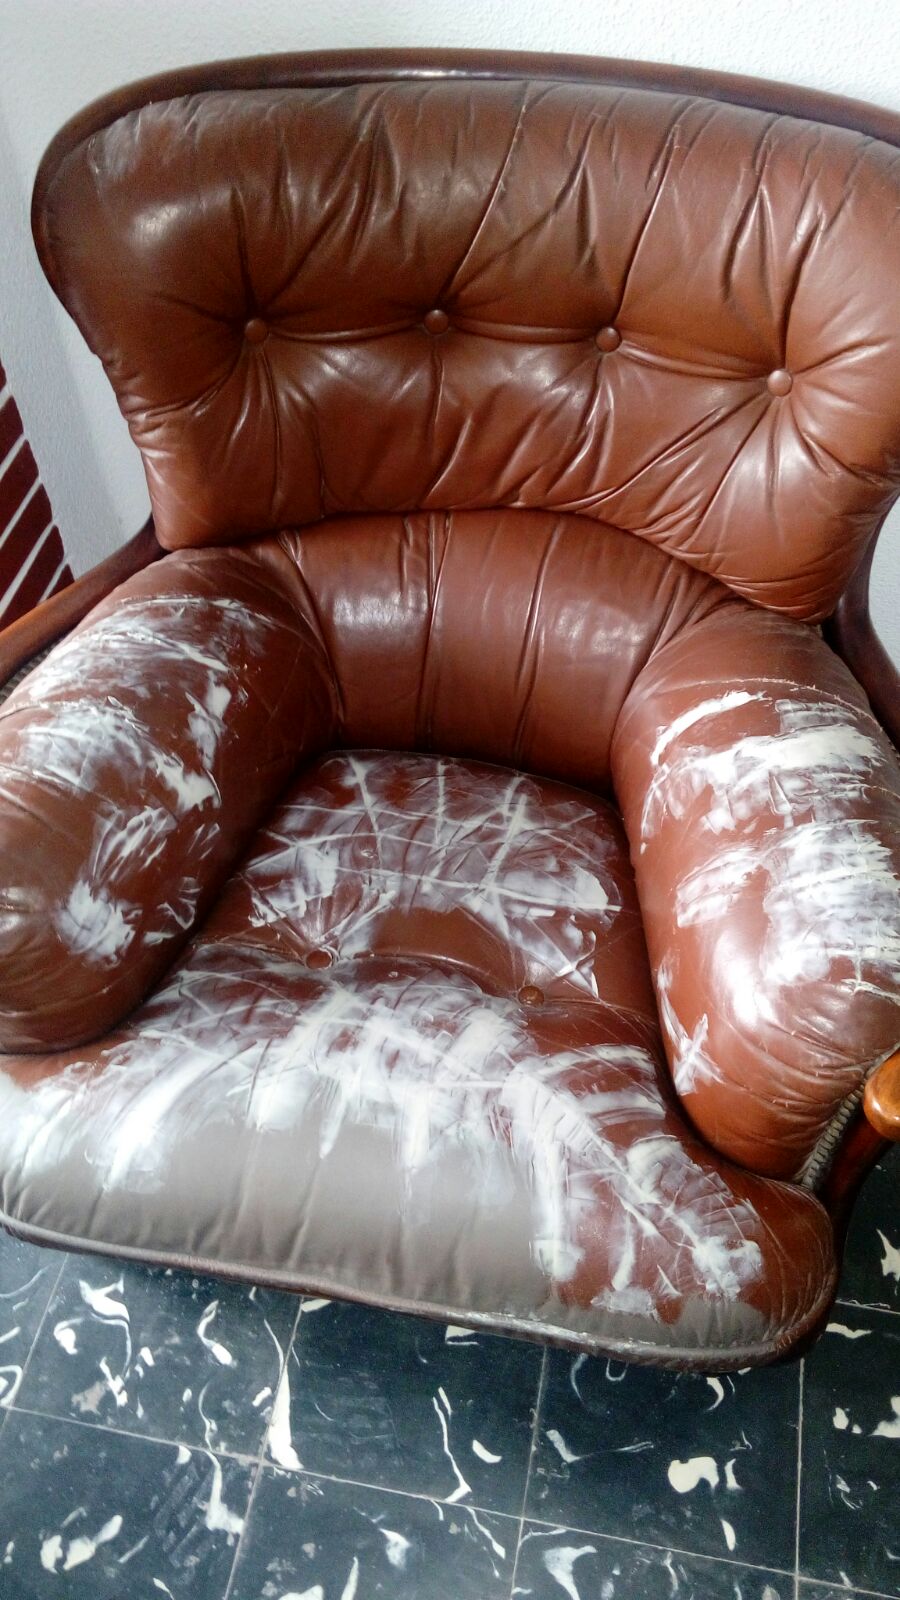
Note to self: I need to get a tube of this material. I already worked with this on a different and totally unrelated project and I was absolutely amazed how flexible and strong this is. I actually attempted to repair an old, super broken armchair (was chewed by some naughty dogs) before became my silly project…) Now I will need this material to form a seal around the bulb holding part, to avoid the water getting in the lamp. I want super high flexibility, so it won’t crack due to the vibrations.
Here are some photos of the leather project 🙂
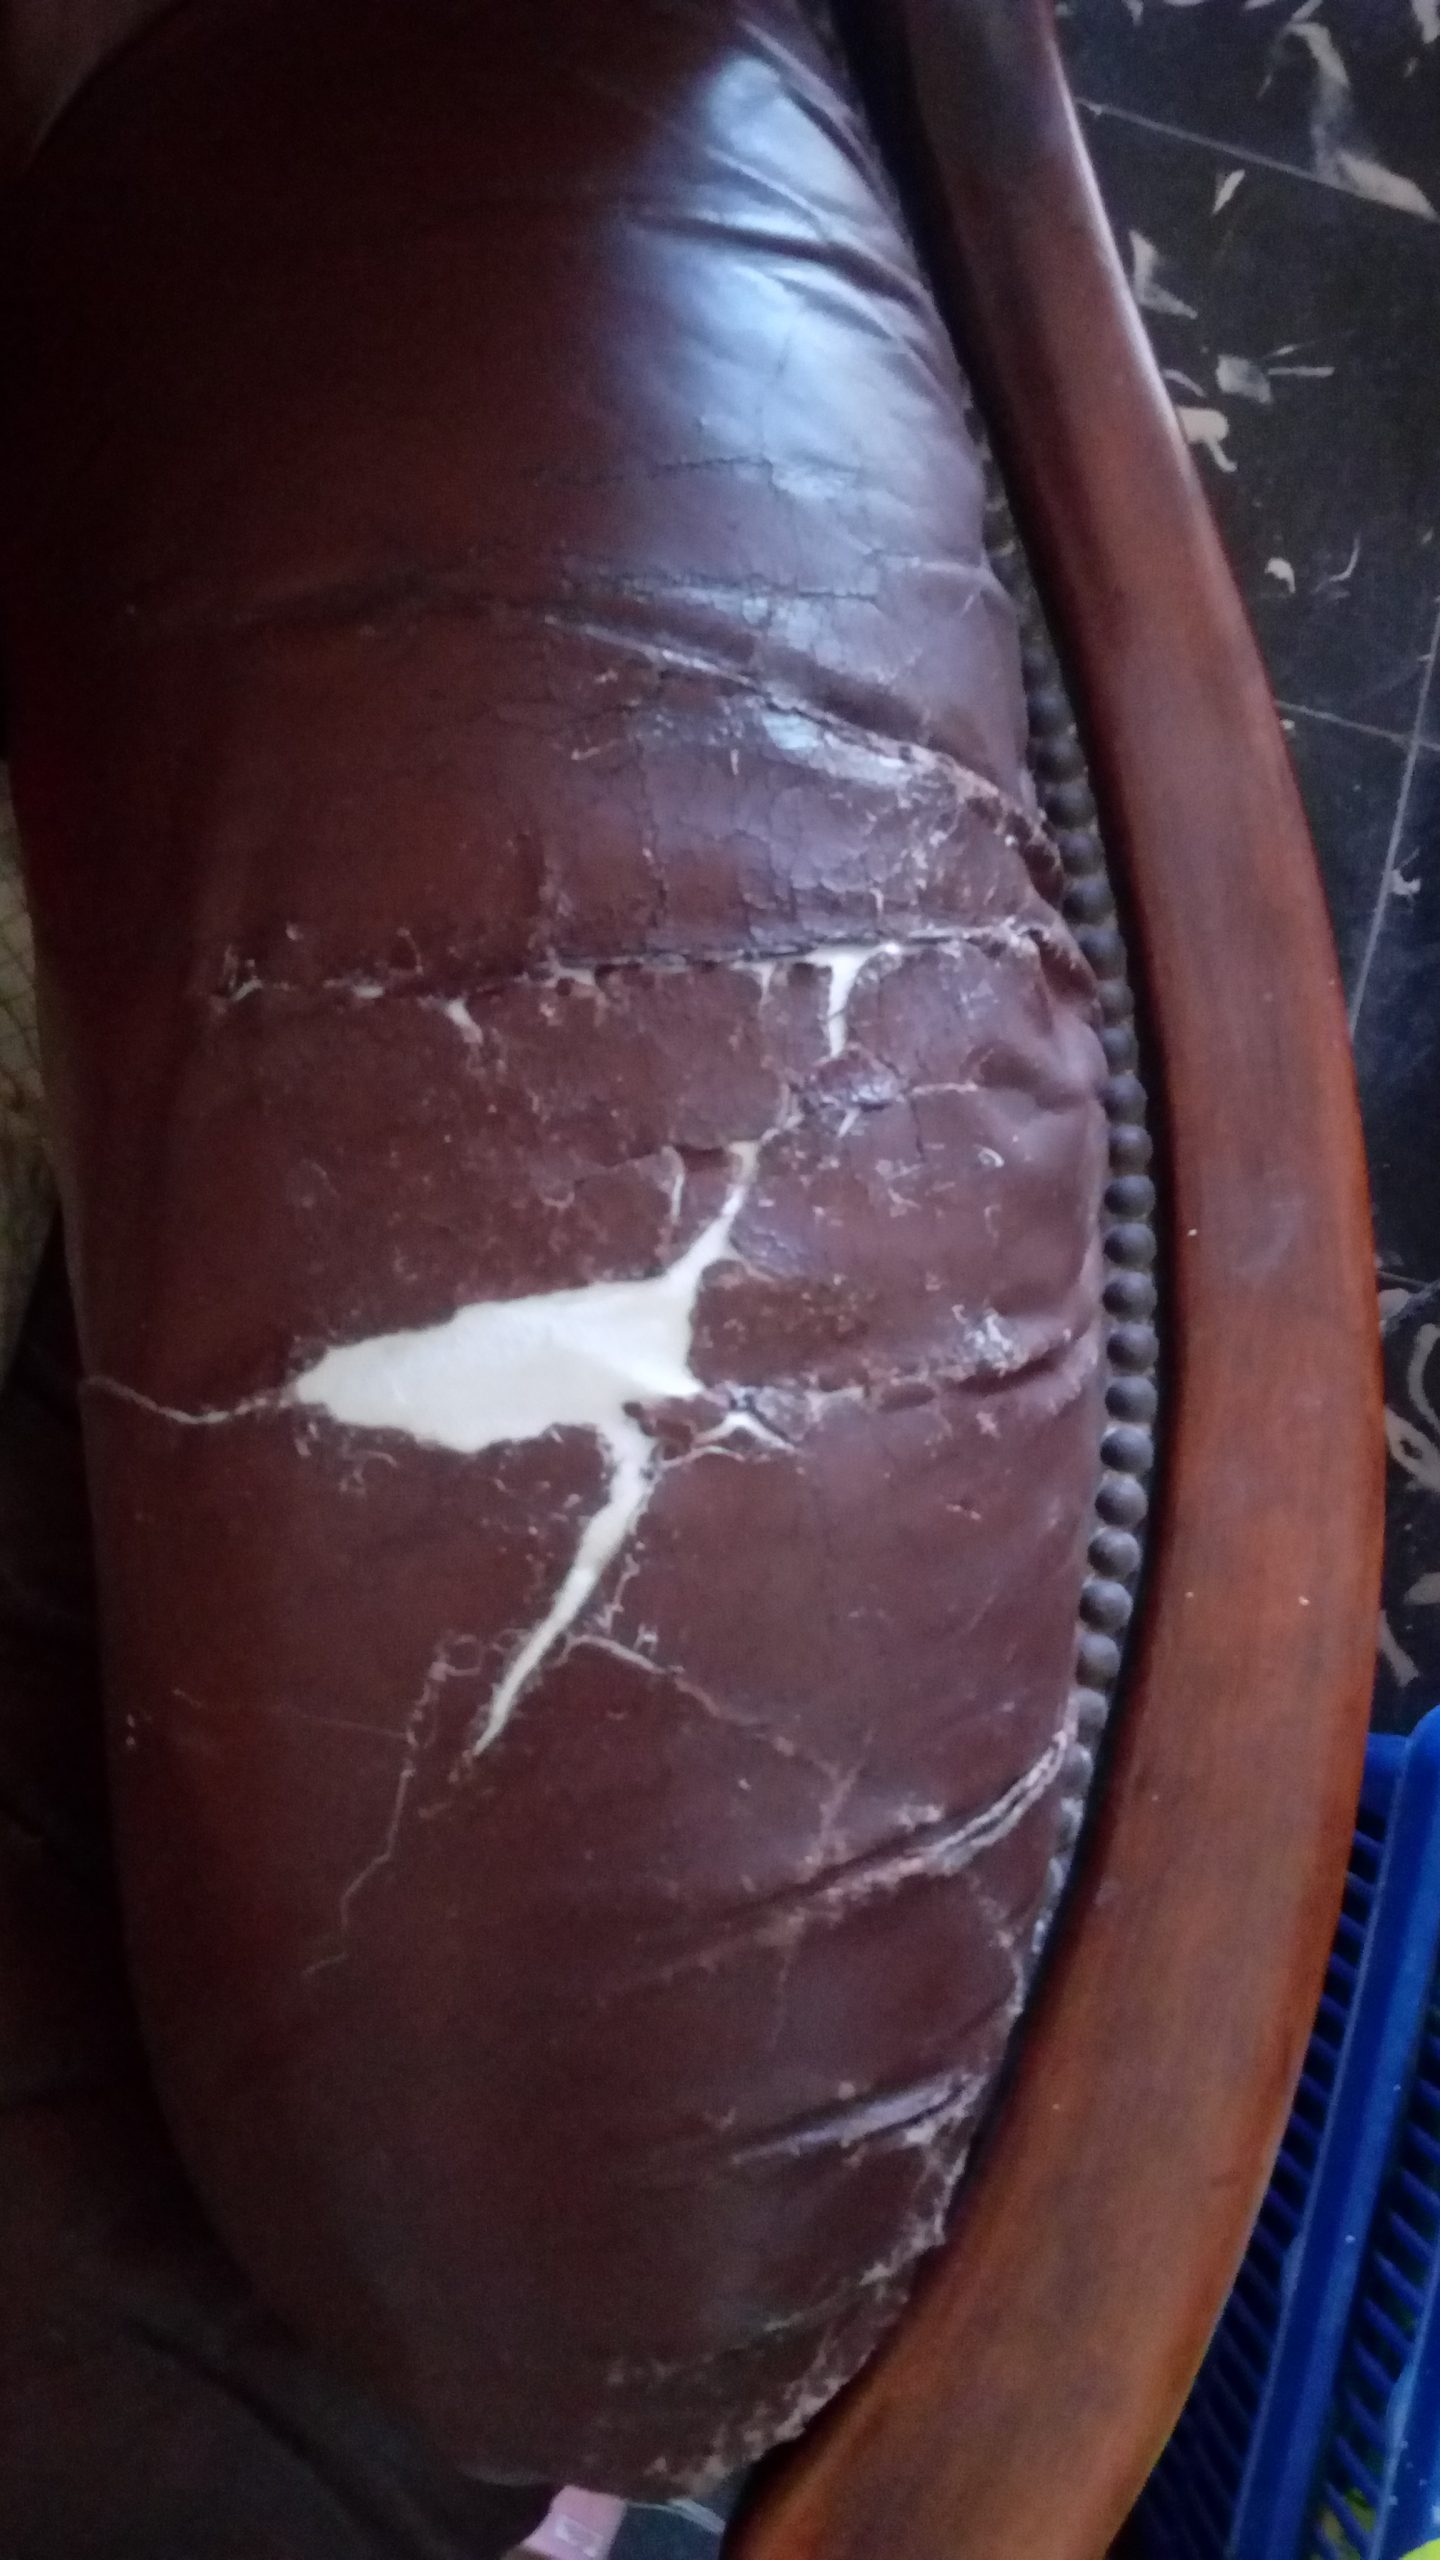
All the cracks and holes filled with this material
And a first layer of paint…
The chair was alive for 2 more years before it ended up in garbage.
\